My first 3D Printer
I learned about 3D printing a few years ago at the Hackerspace . Now I finally decided to buy my own printer. After a video from SchimmerMedia I decided to buy the Alfawise U50 for less than 200€ from Gearbest.
The Unboxing
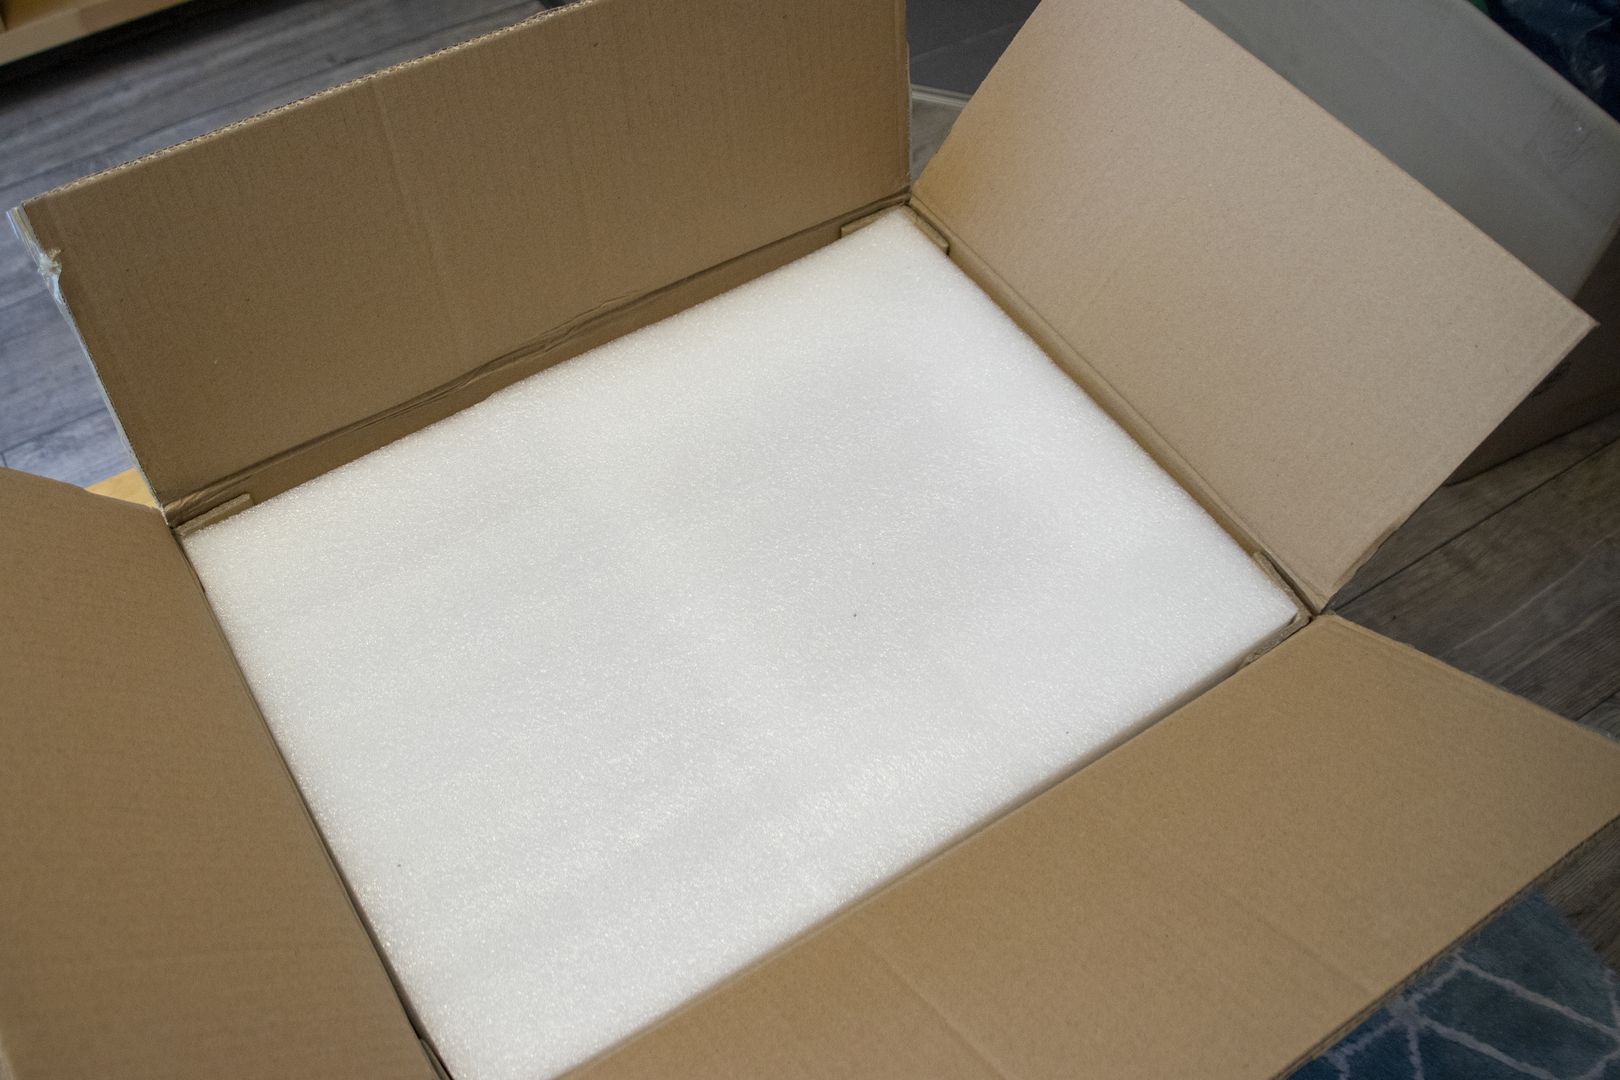
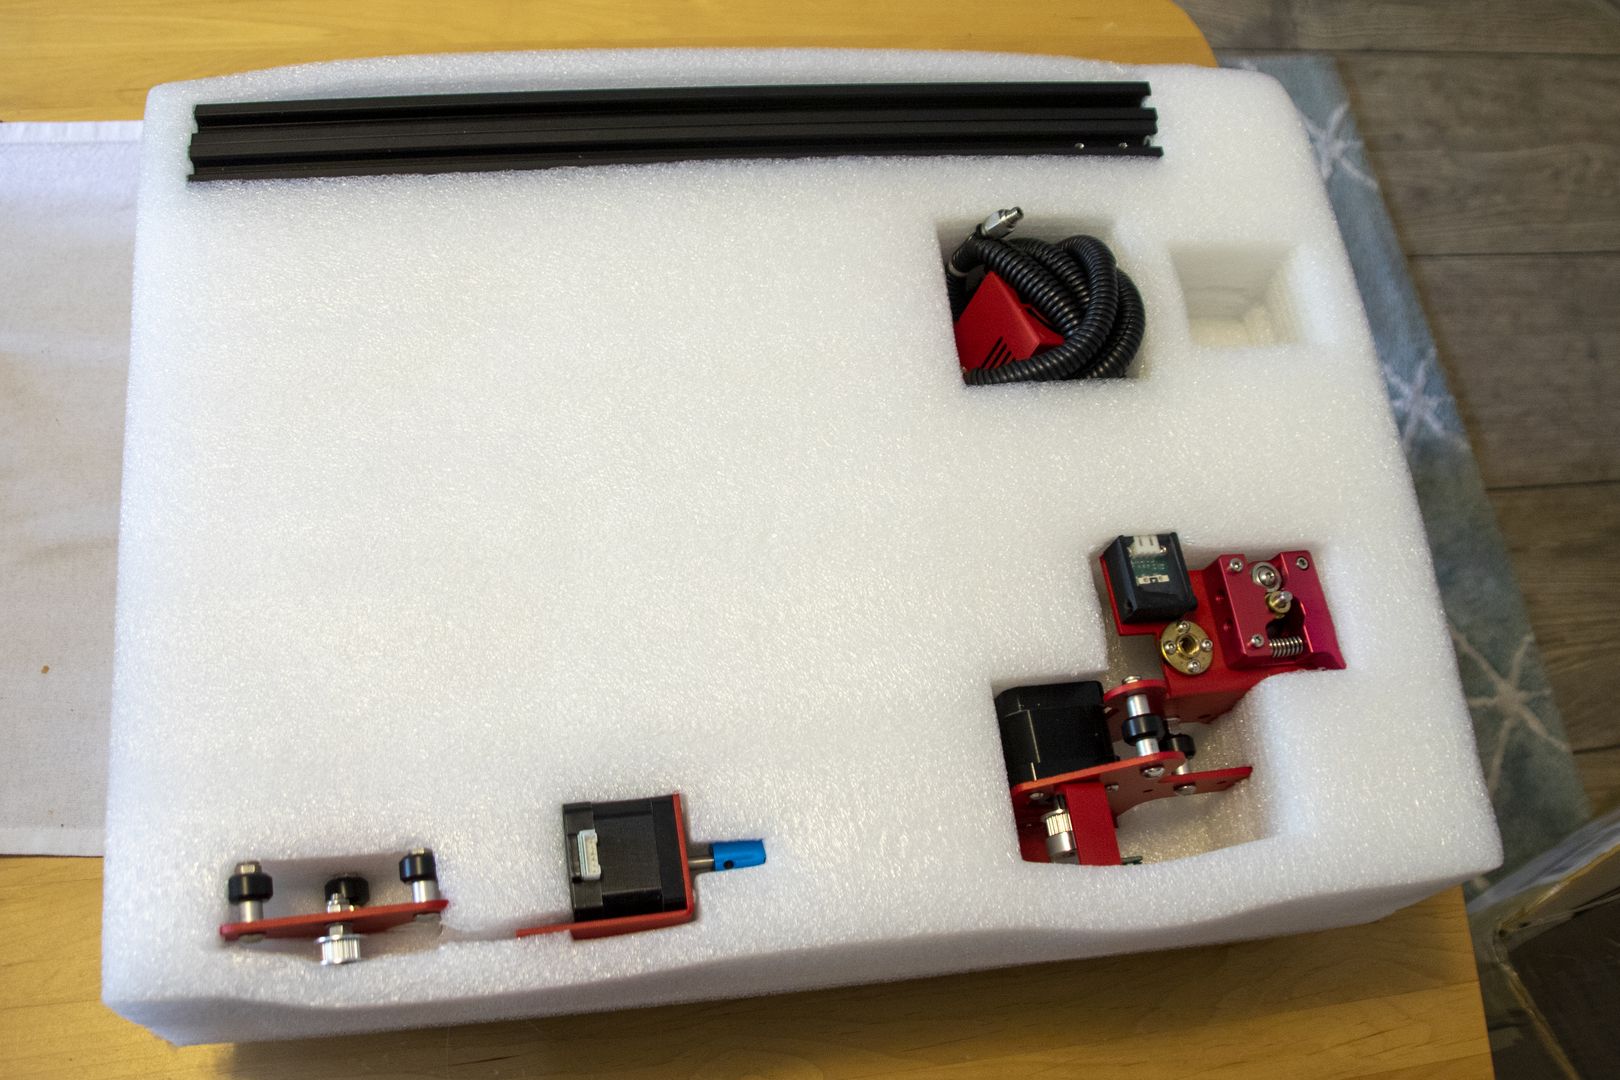
The Packaging
The printer arrives from China well protected in foam packaging.
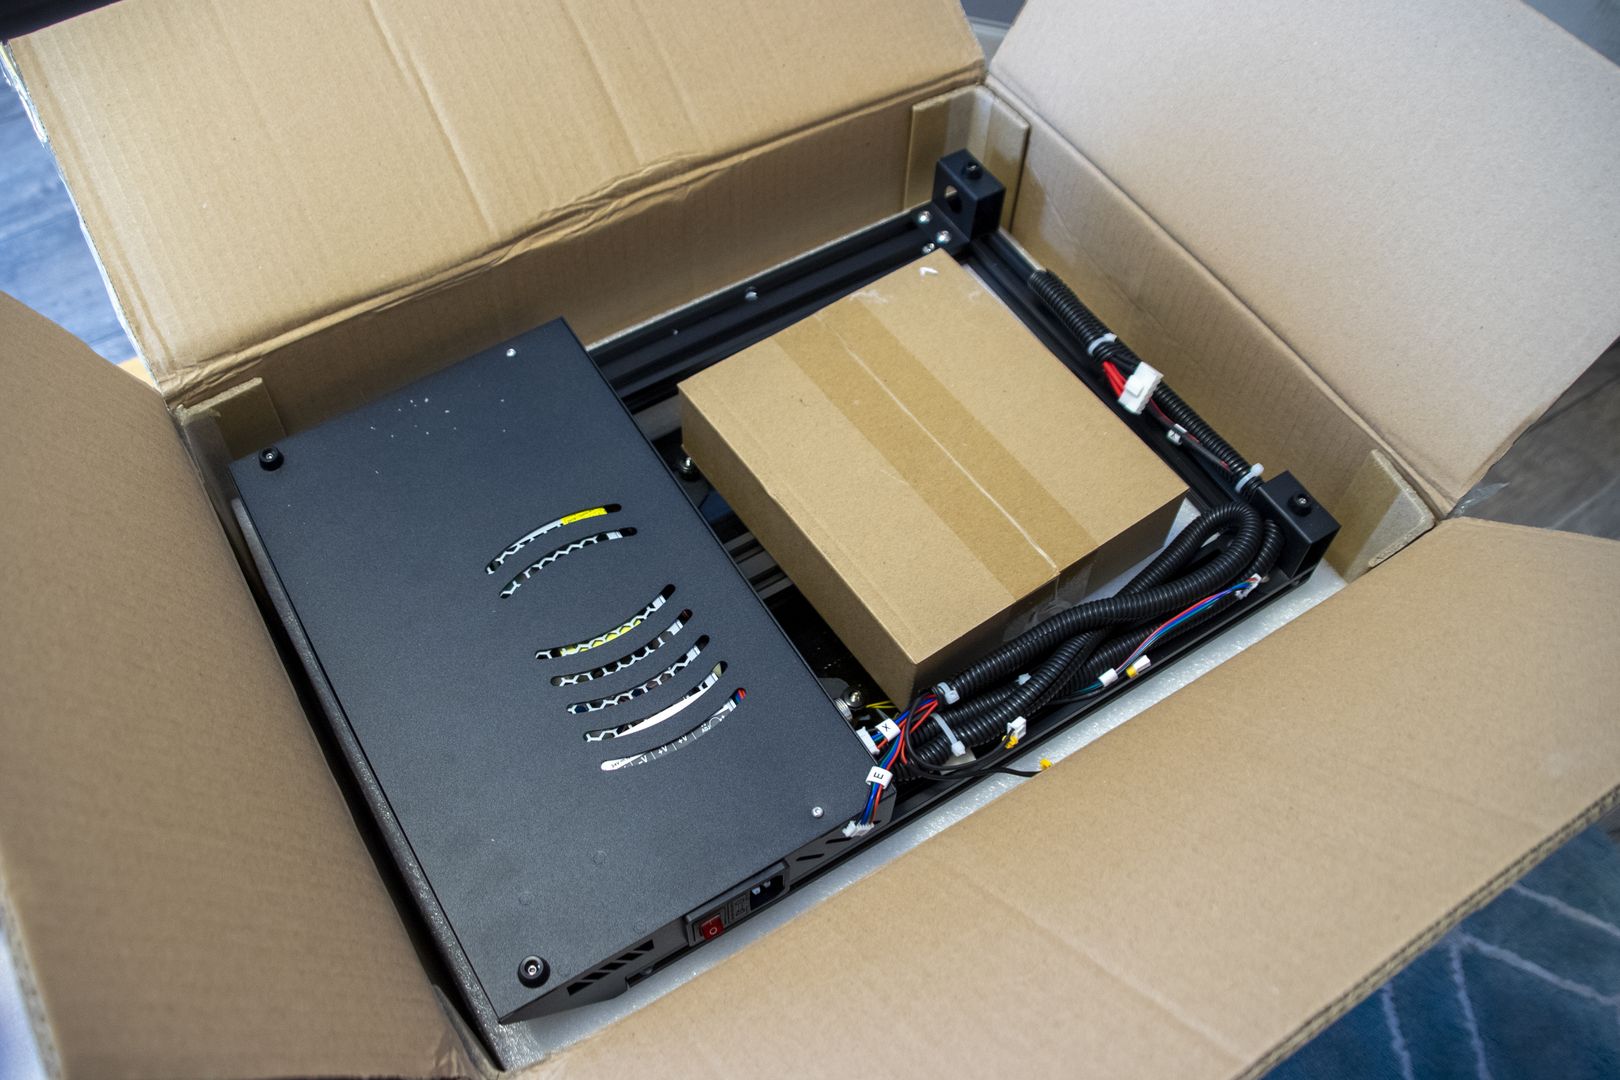
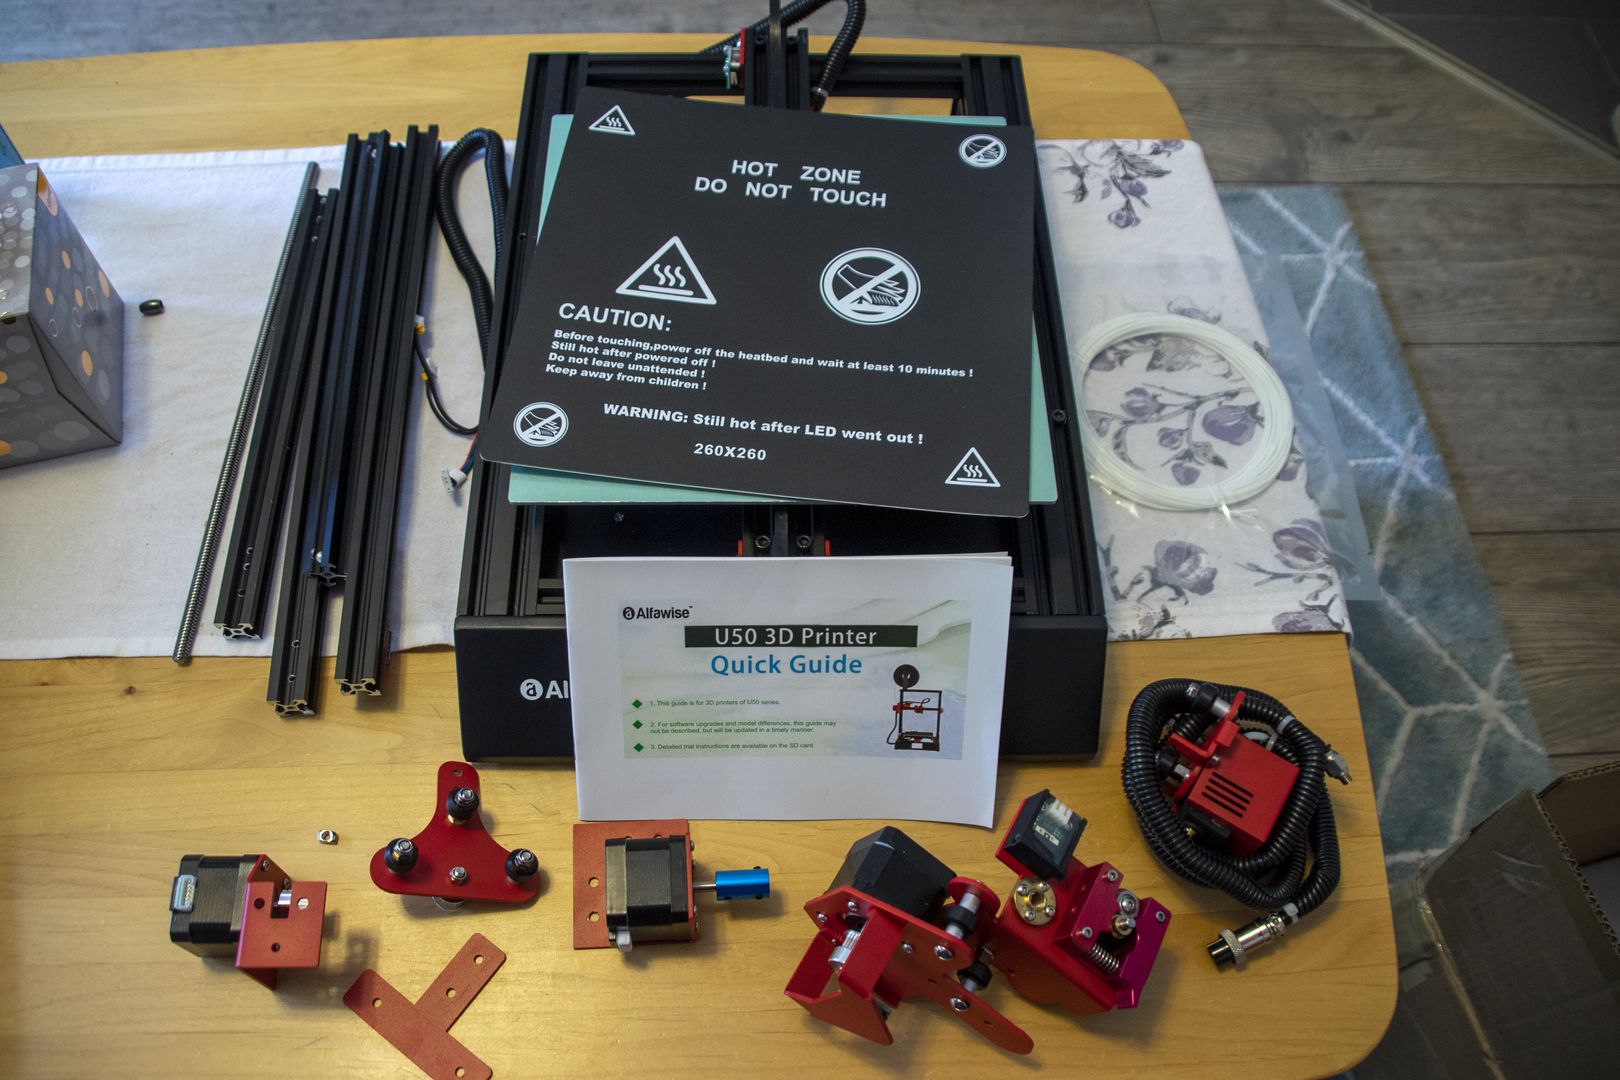
Underneath the foam is the already assembled bottom part of the printer and a box with screws and tools.
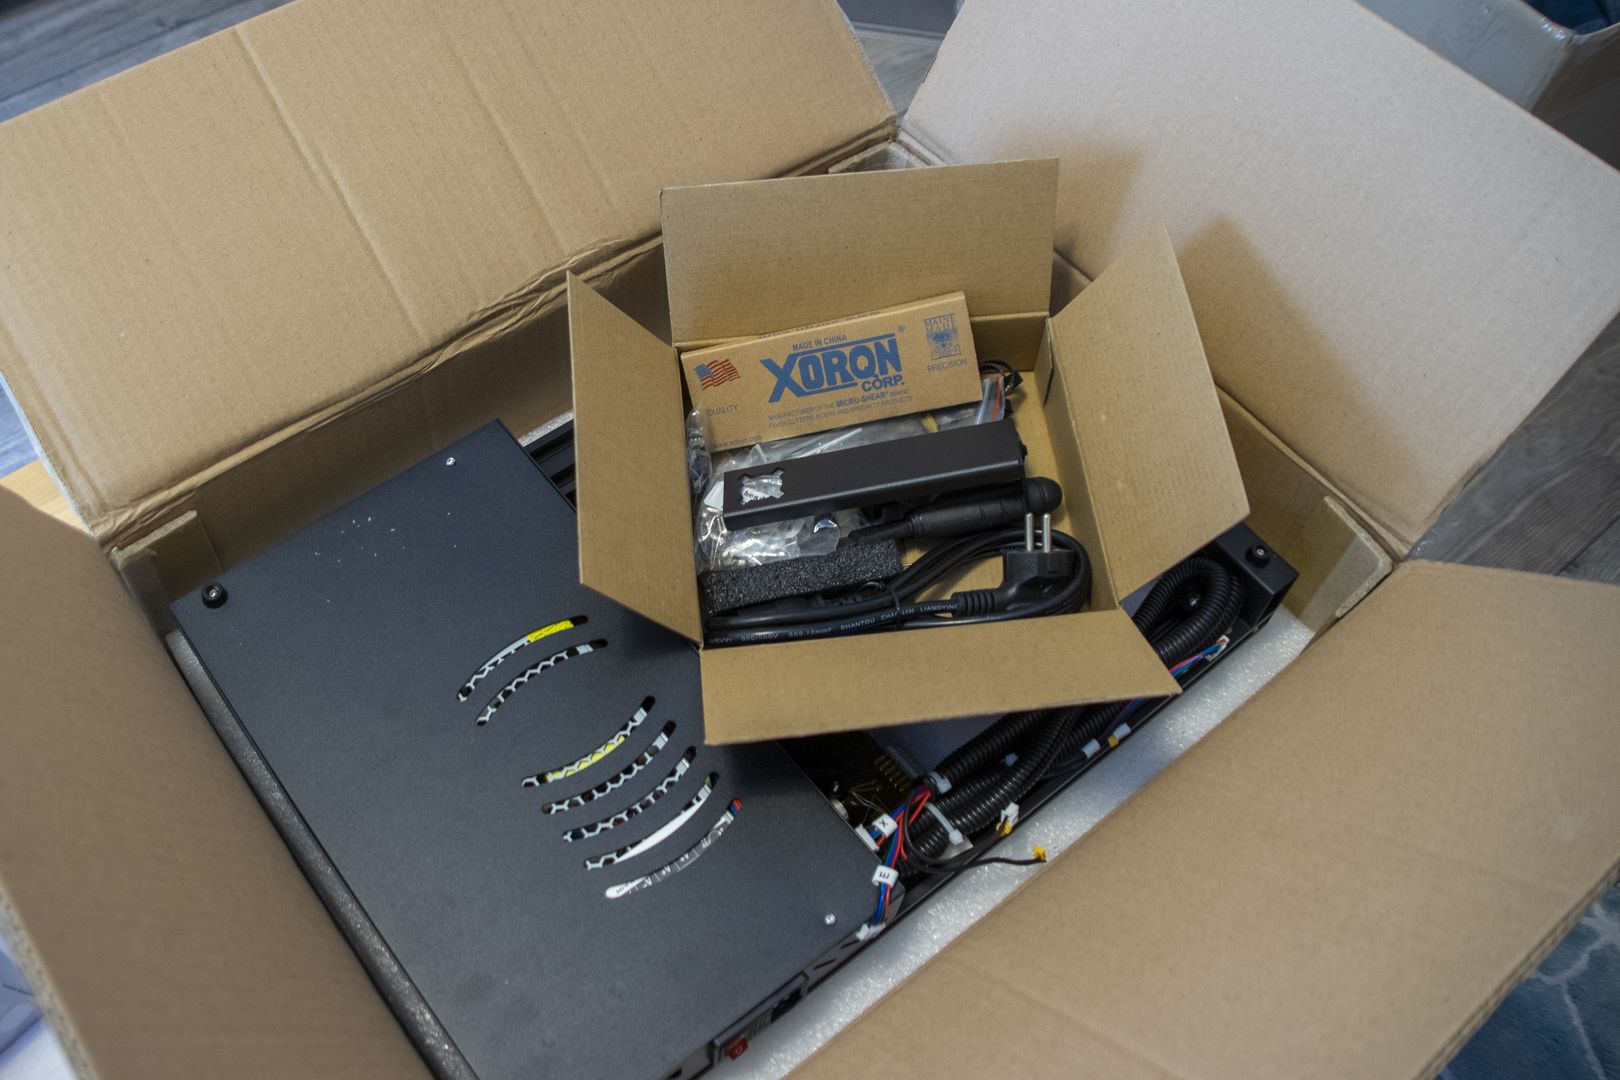
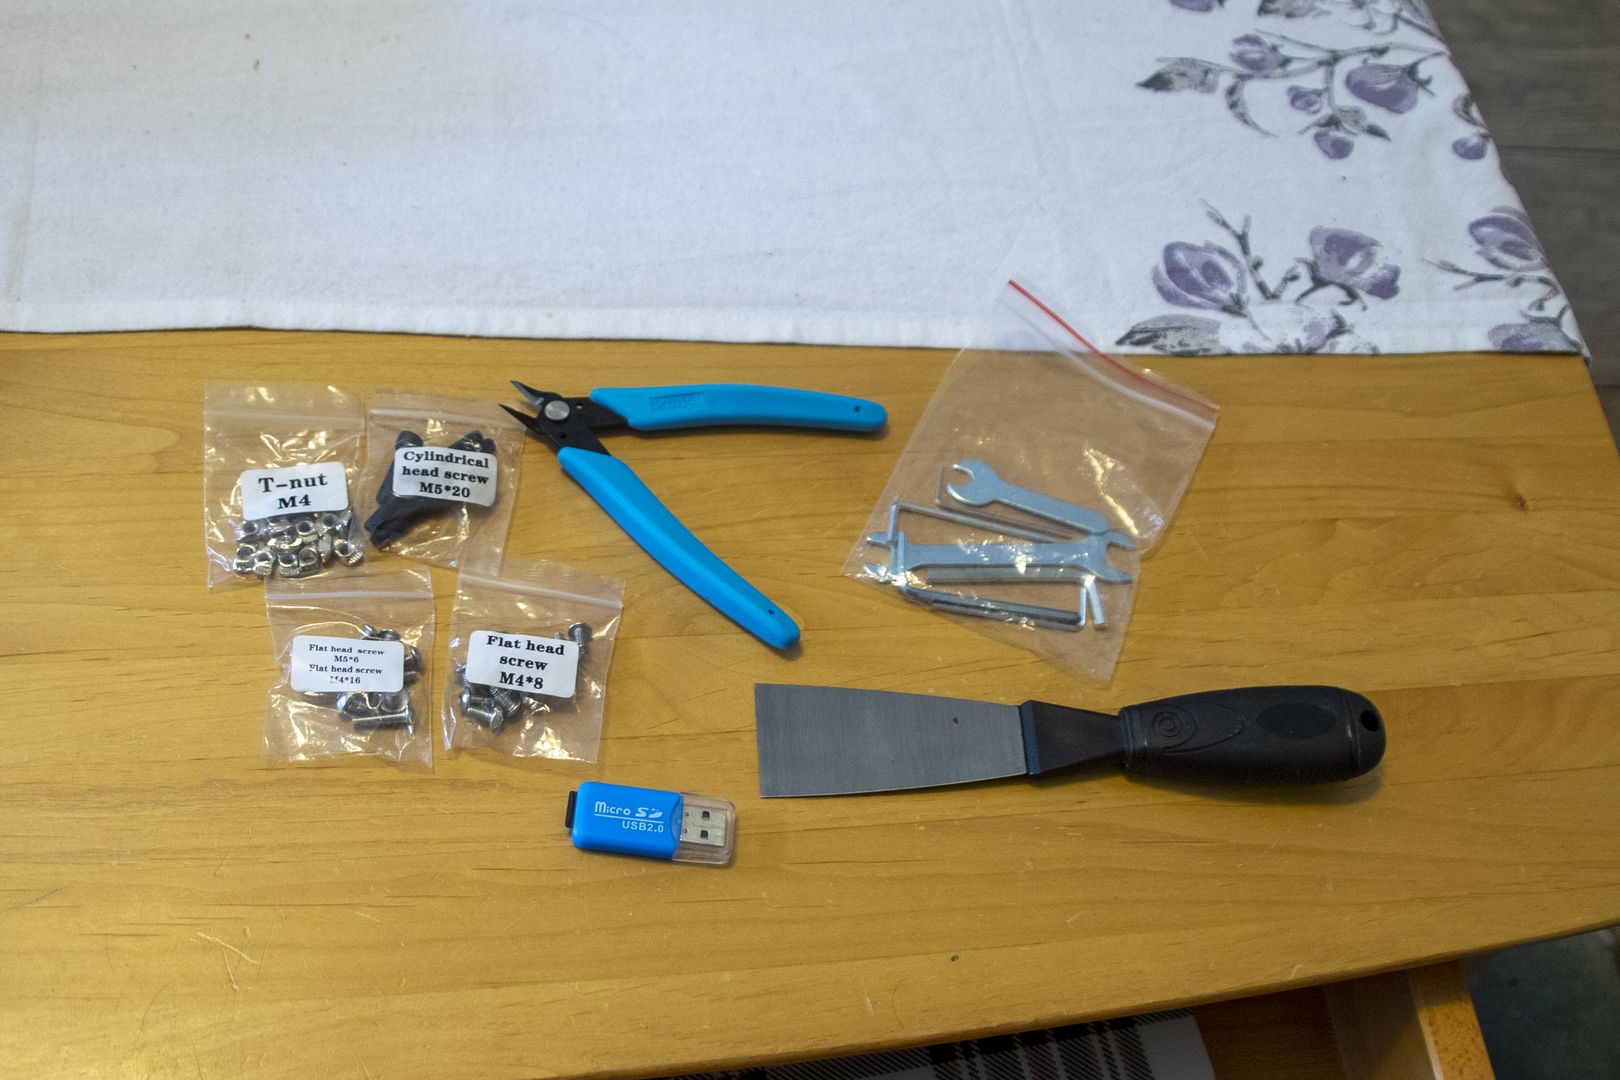
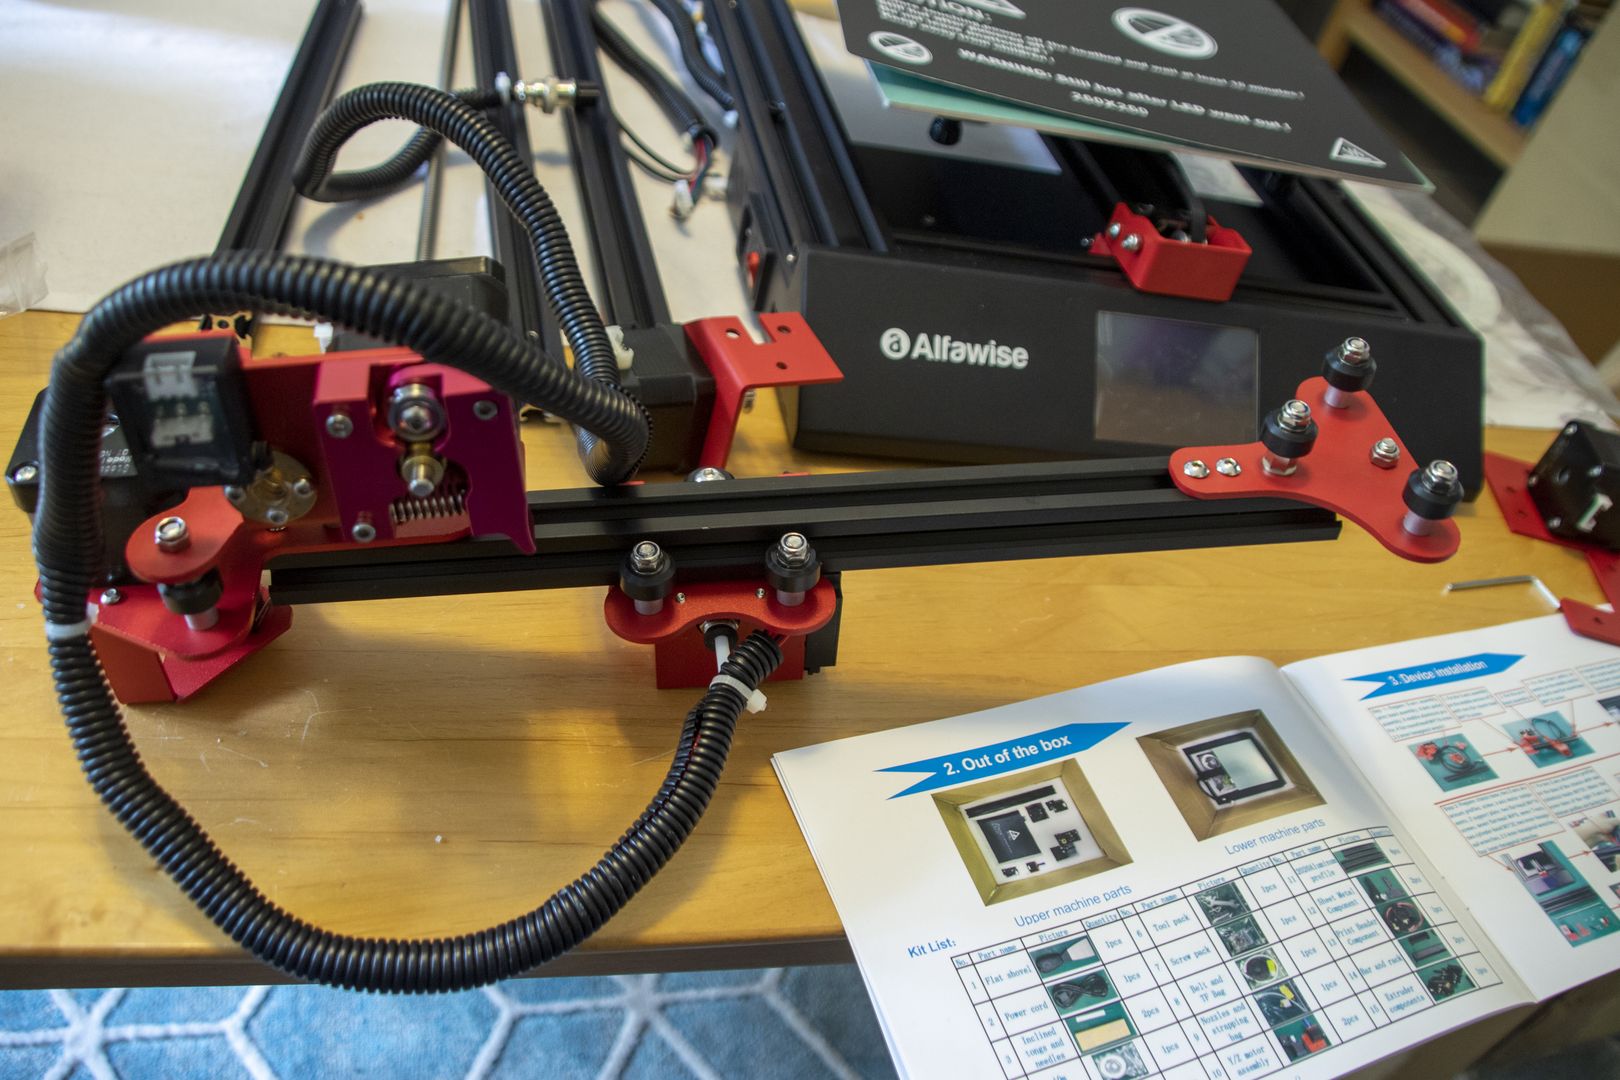
You need five(!) different hexagon socket wrenches for assembly. Fortunately all sizes are included. In addition there is a scraper and a side cutter to remove the printed parts from the bed later and to trim them, as well as a Micro-SD card with USB adapter. On the card you find an old version of Cura including a configuration file, the assembly instructions in digital form and some example 3D models.
In the lower foam half you will find the remaining attachments, which are also already partly assembled.
These parts must now be assembled according to the instructions.
The Assembly
The text of the manual is translated into reasonably understandable English, but the pictures are sometimes a bit small.
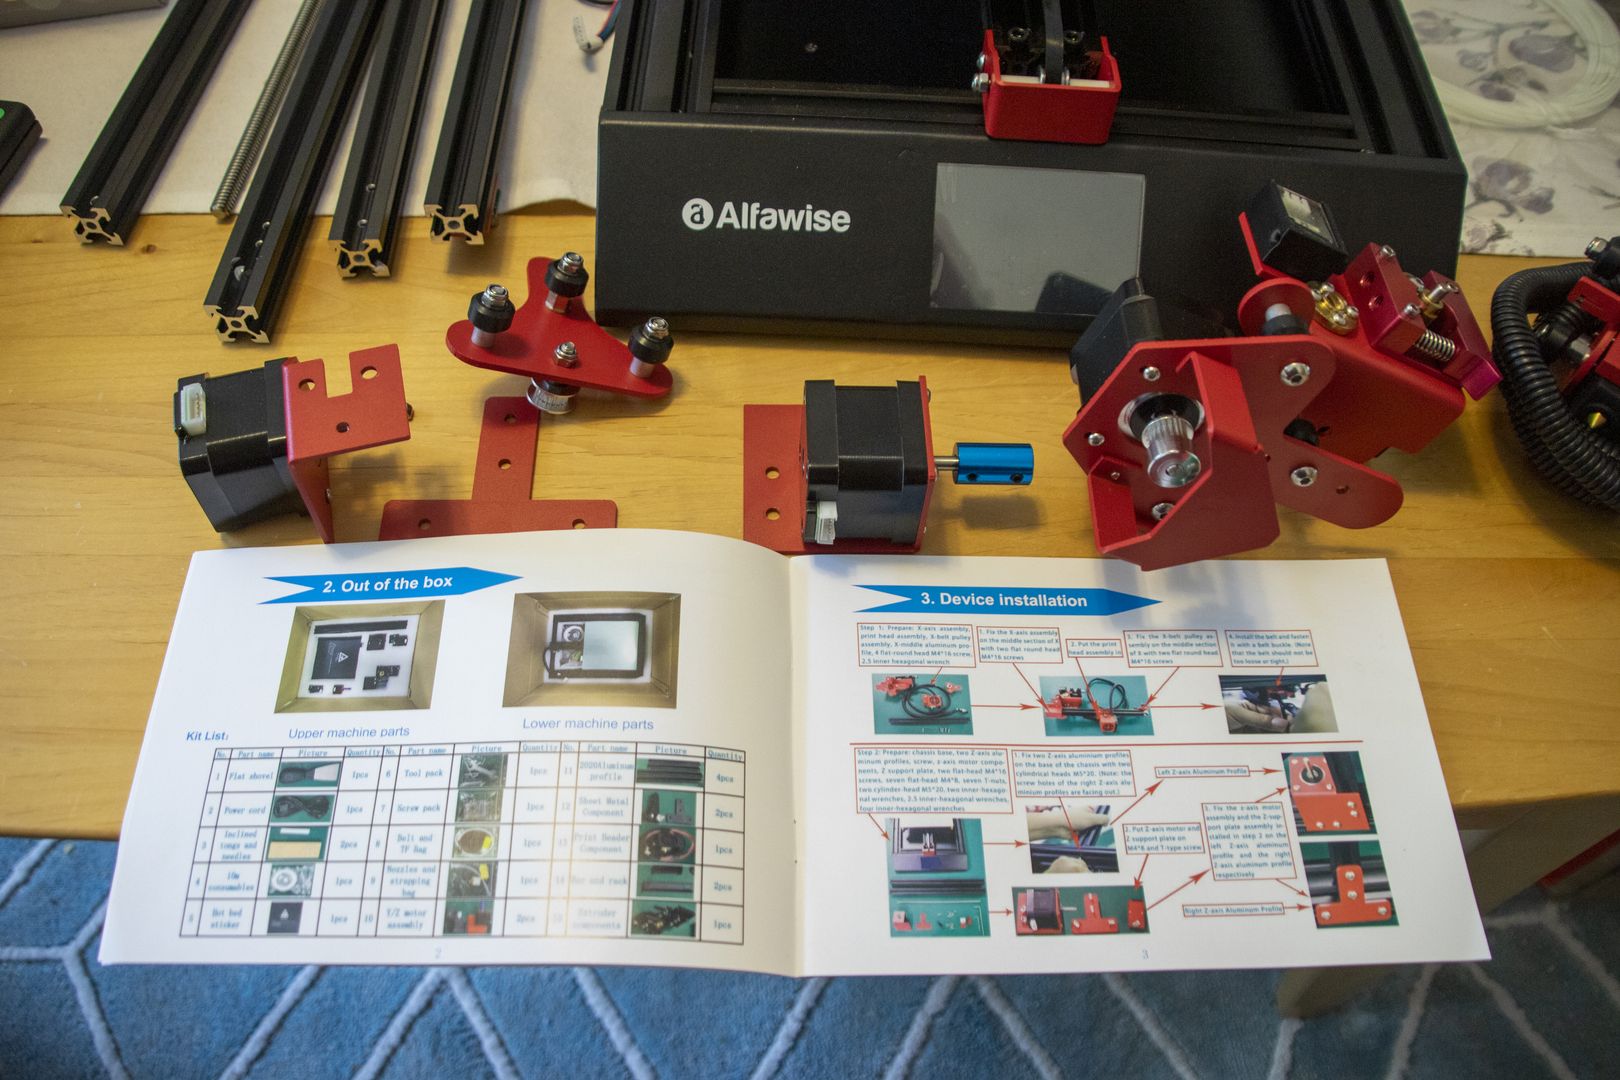
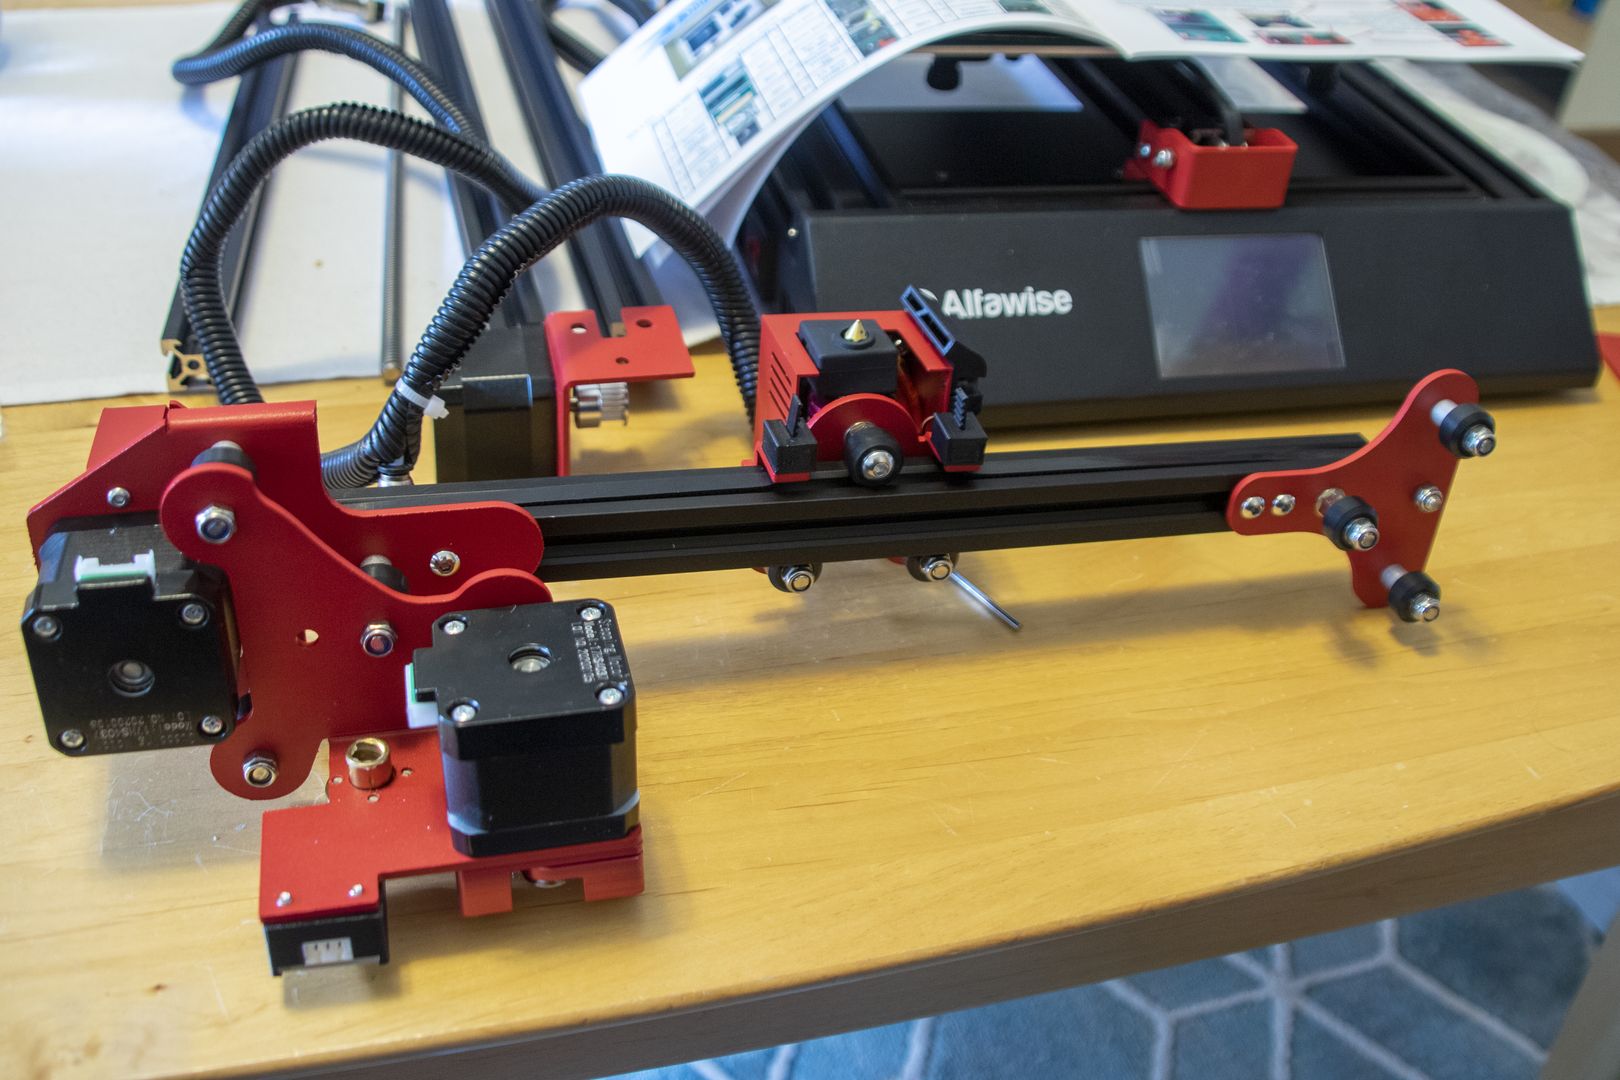
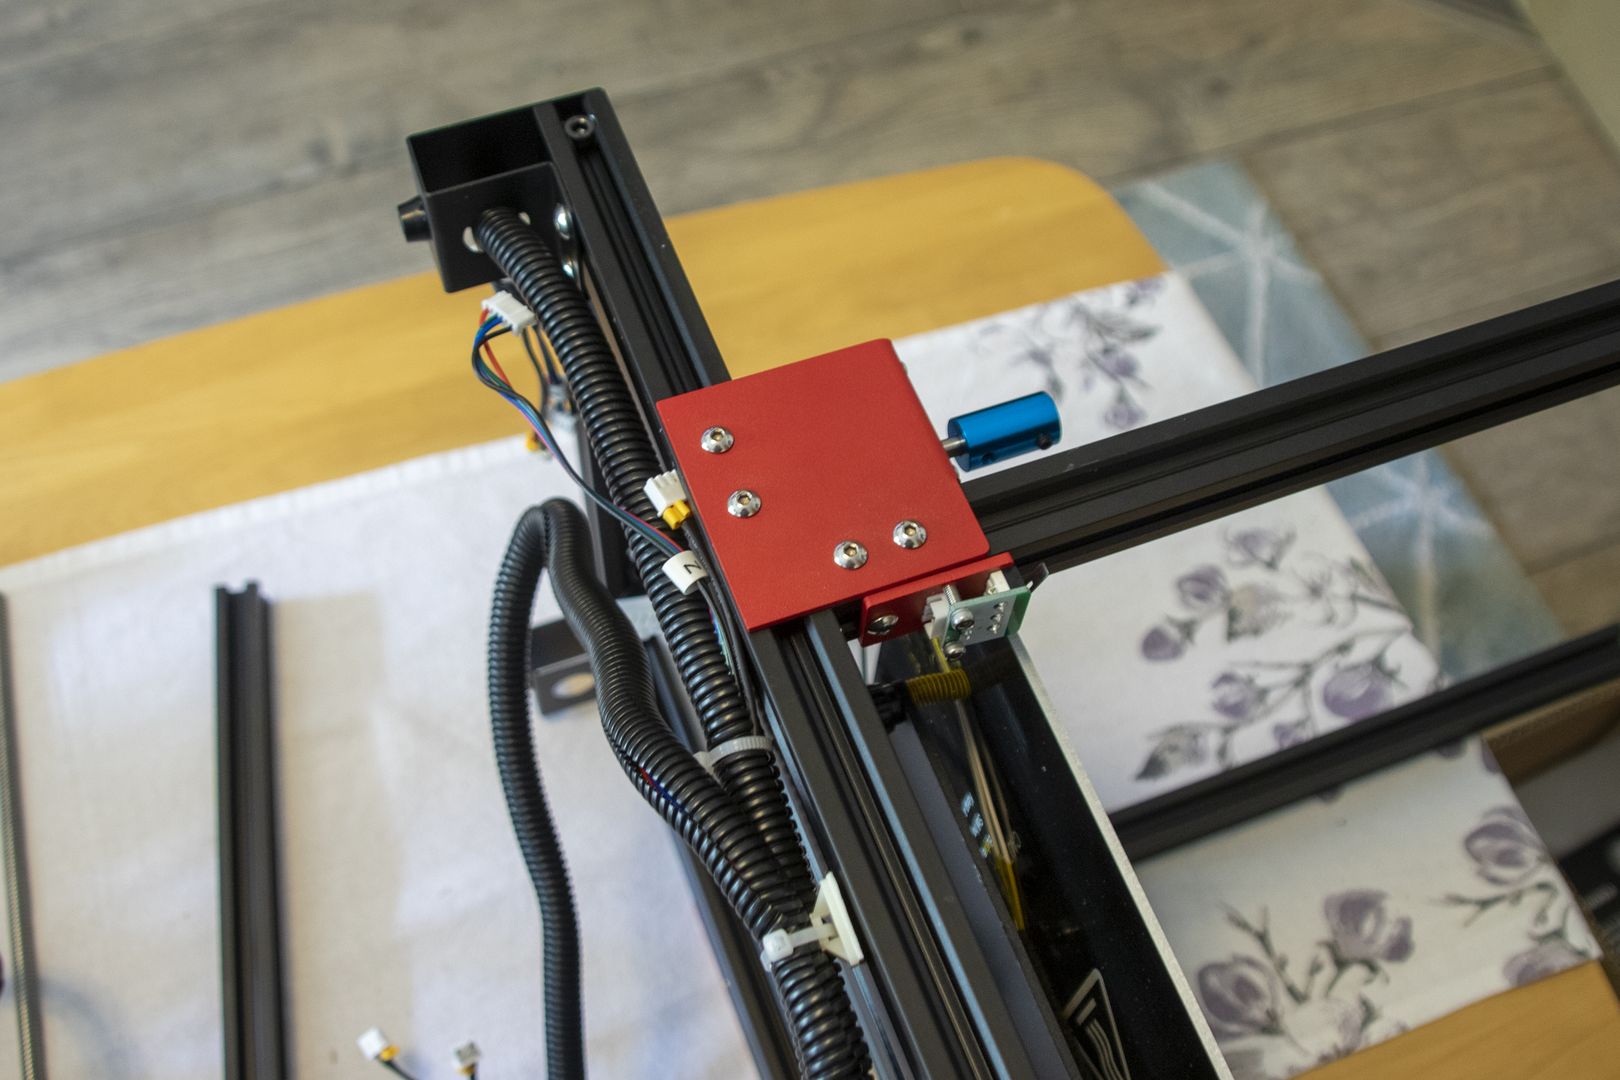
The first part to be assembled is the combination of X-axis drive and extruder drive. The construct has to be screwed to the X-axis strut and the screw has to be fiddled into the hole from behind.
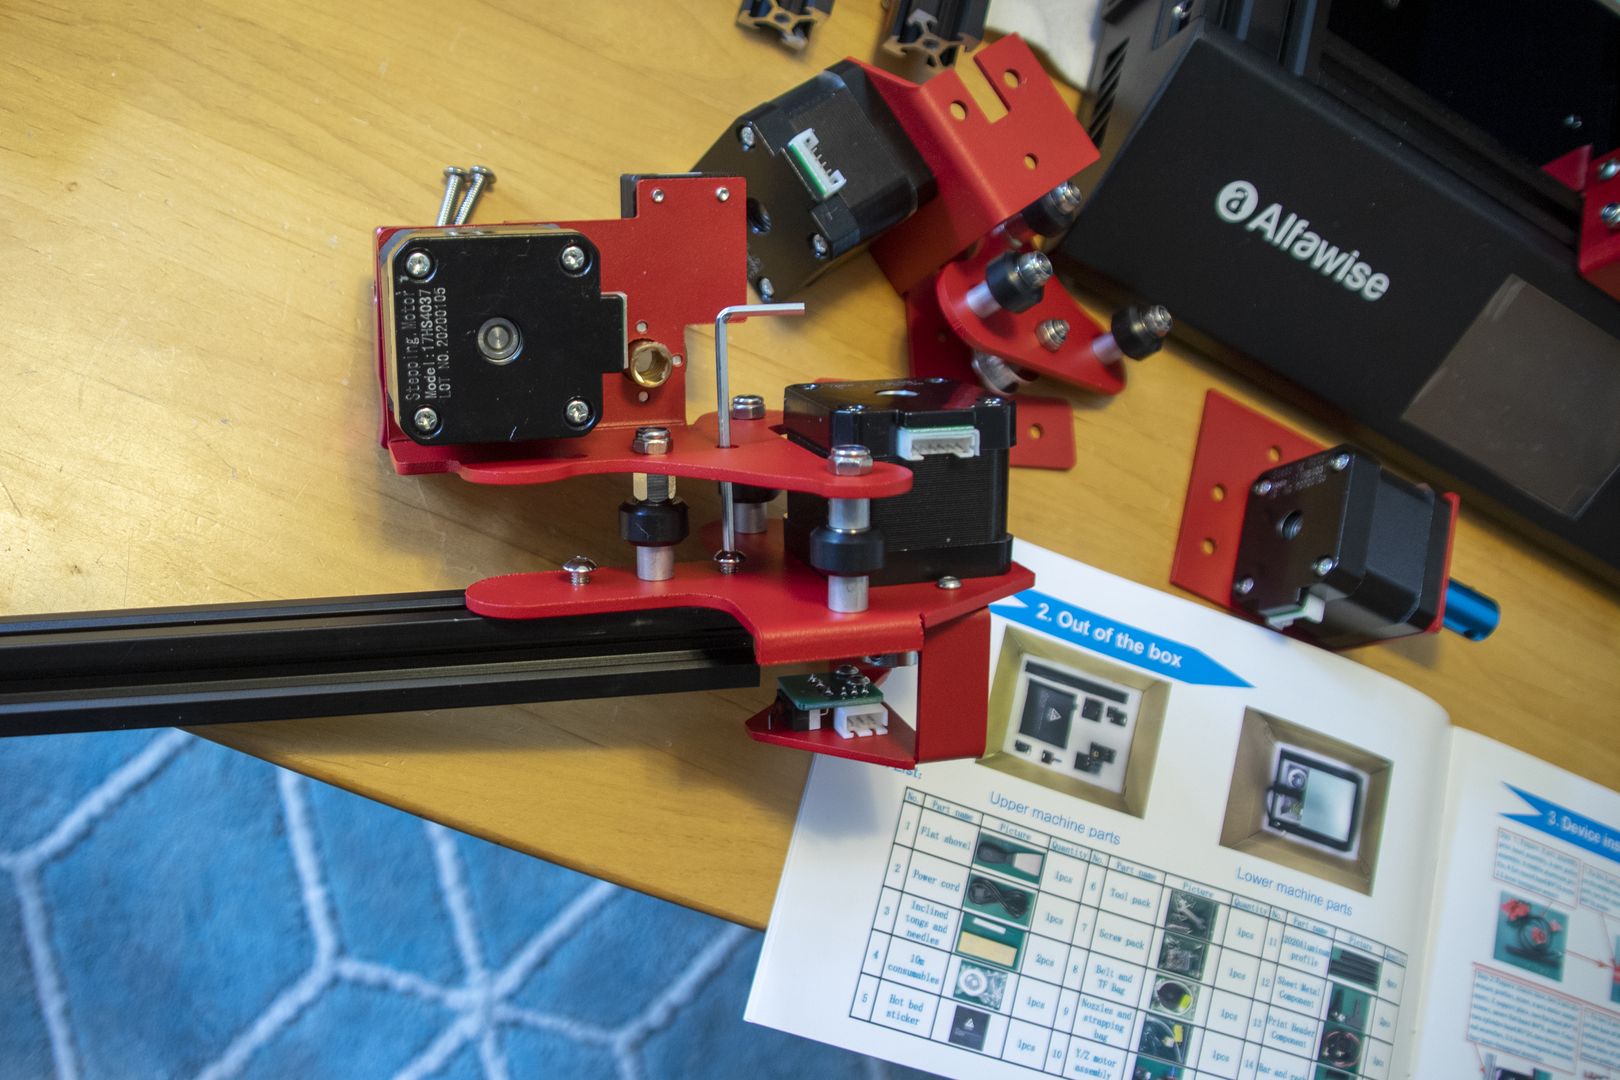
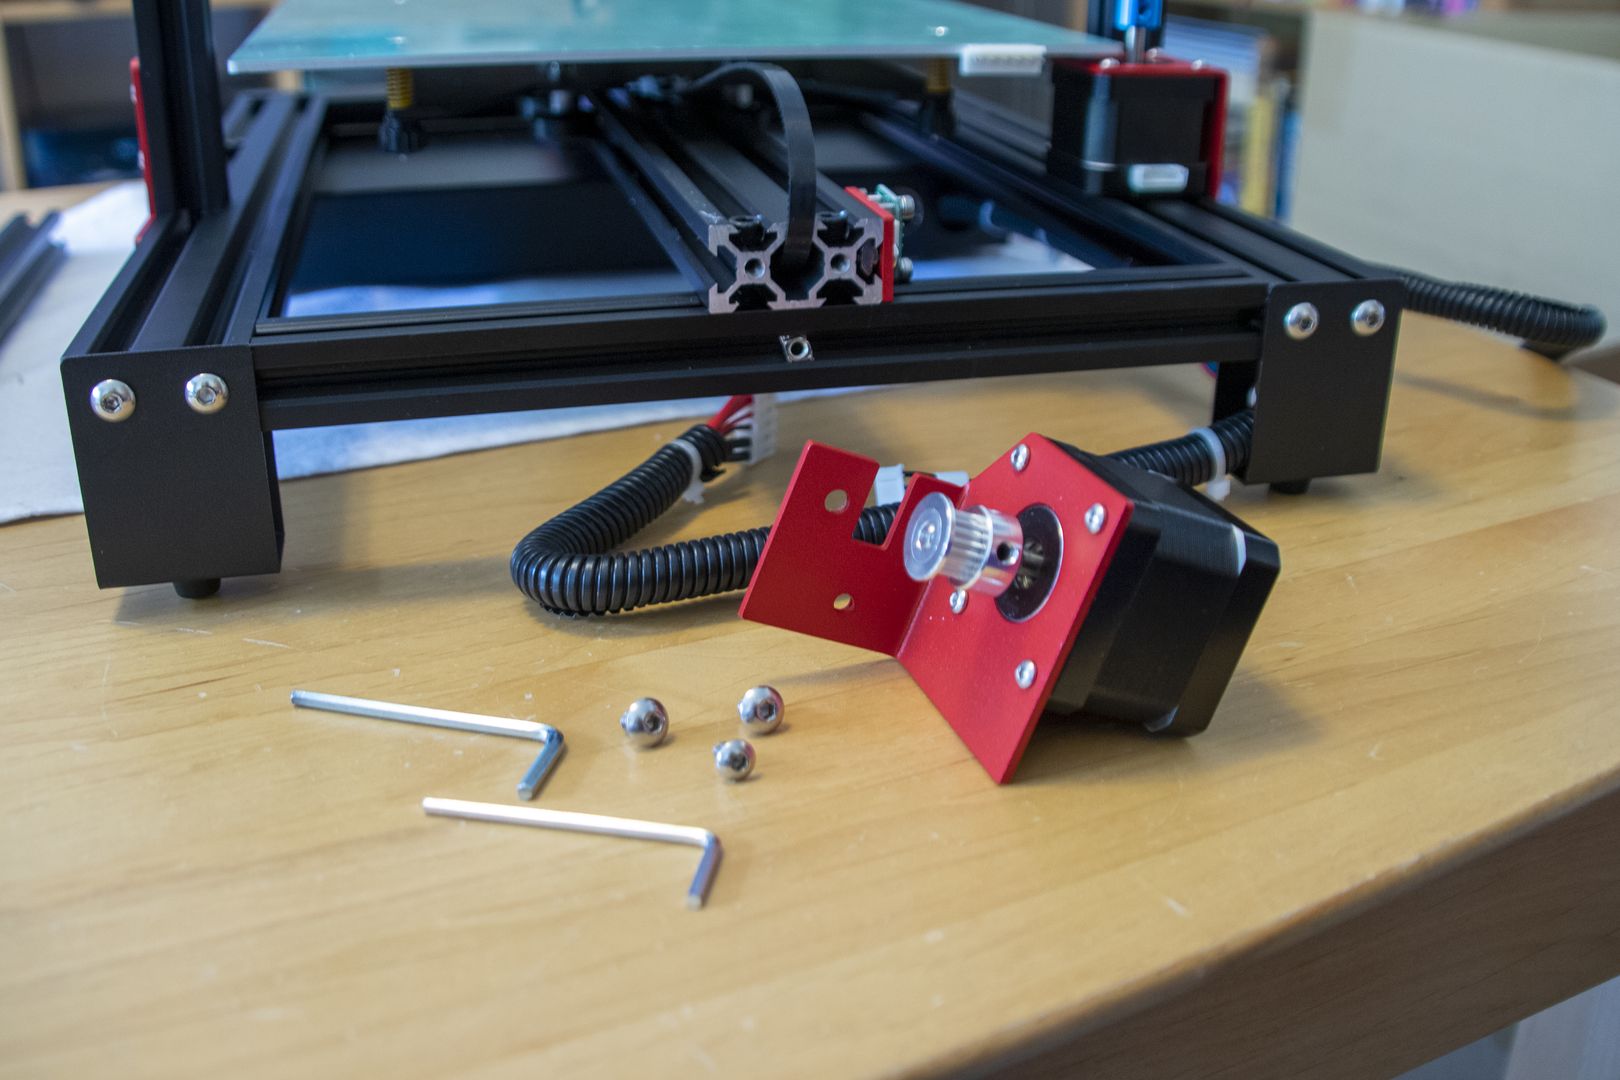
The hotend is then simply fitted onto the rail and the second Z-axis guide is screwed on the other side.
The toothed belt that moves the hot end is fixed with printed clips. We will see how long they last.
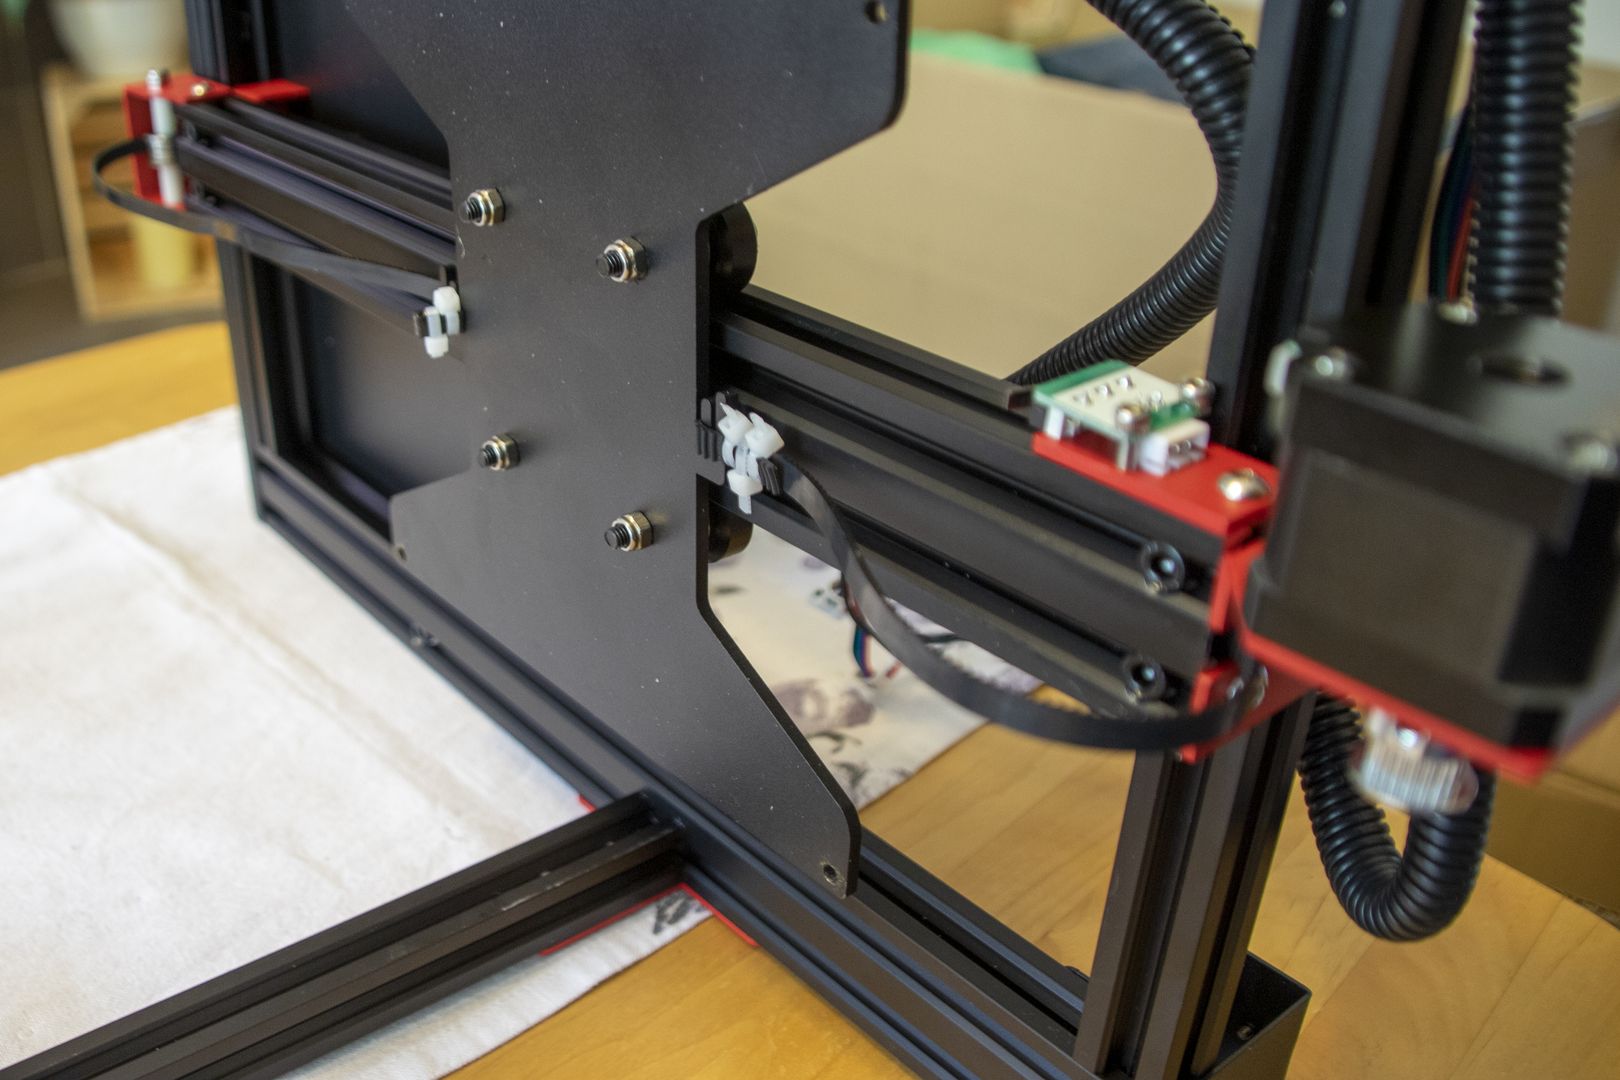
The vertical aluminium profiles are fixed from below with one screw each. The right side is additionally fixed with a T-profile.
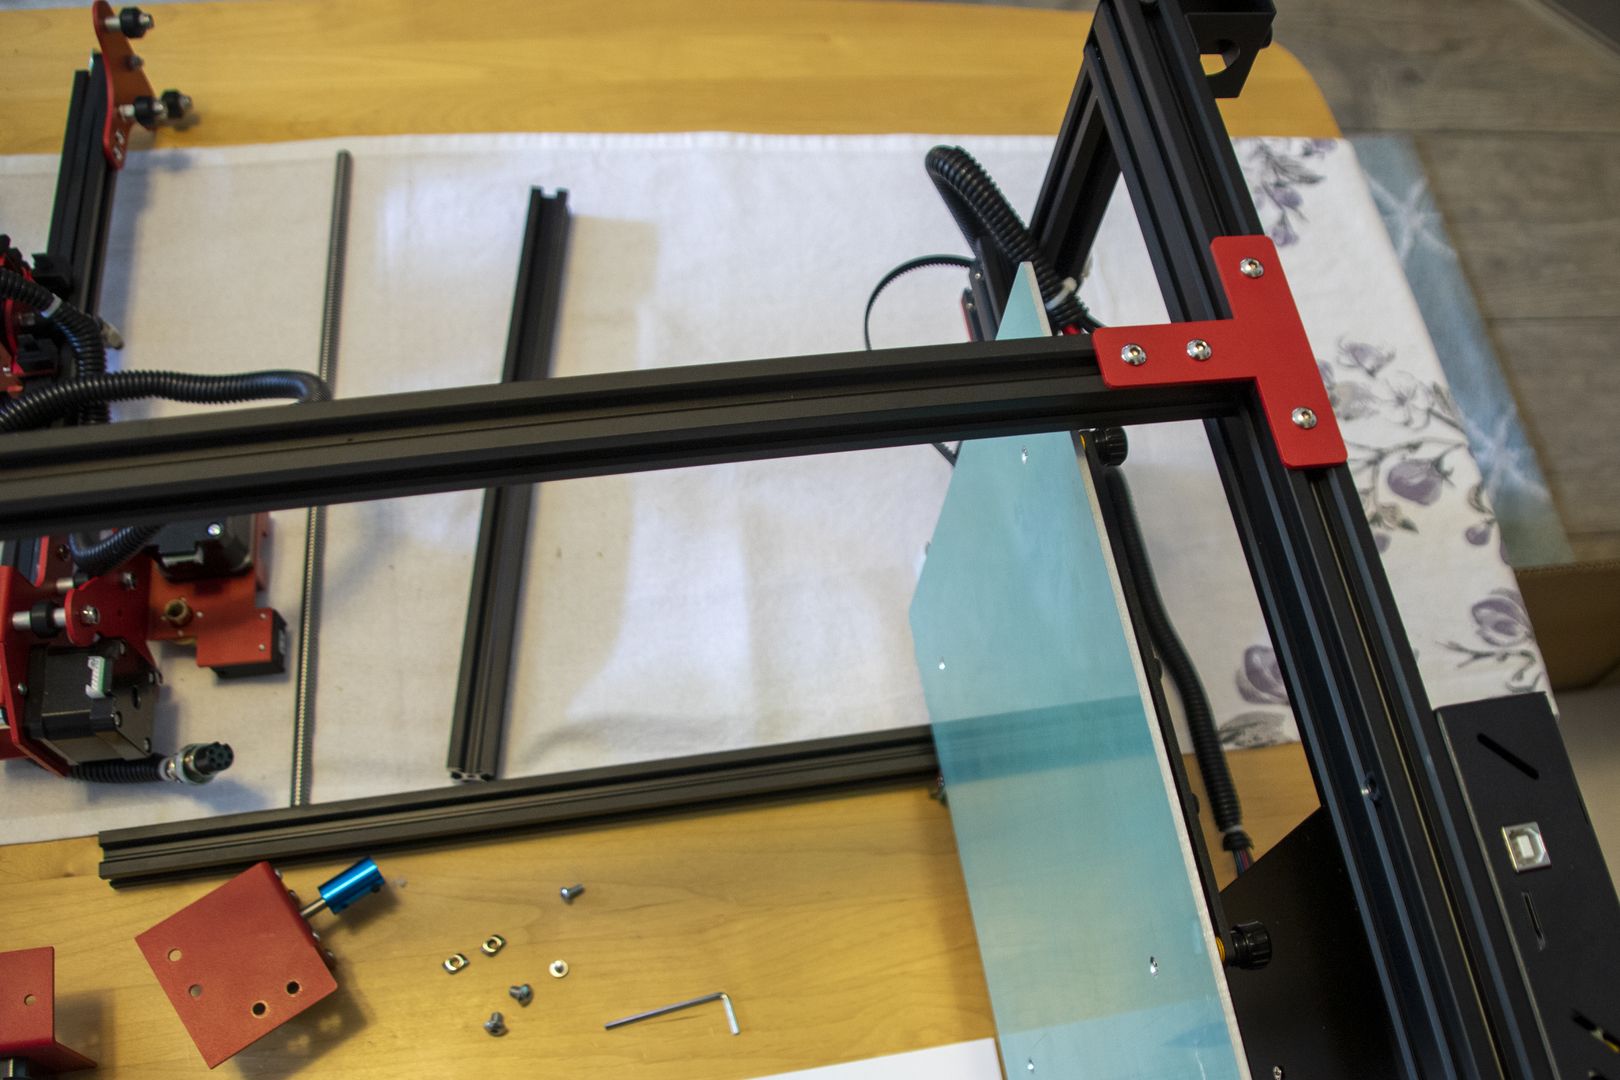
The left side is more fiddly again, because here you have to mount the attachment with the Z-axis drive.
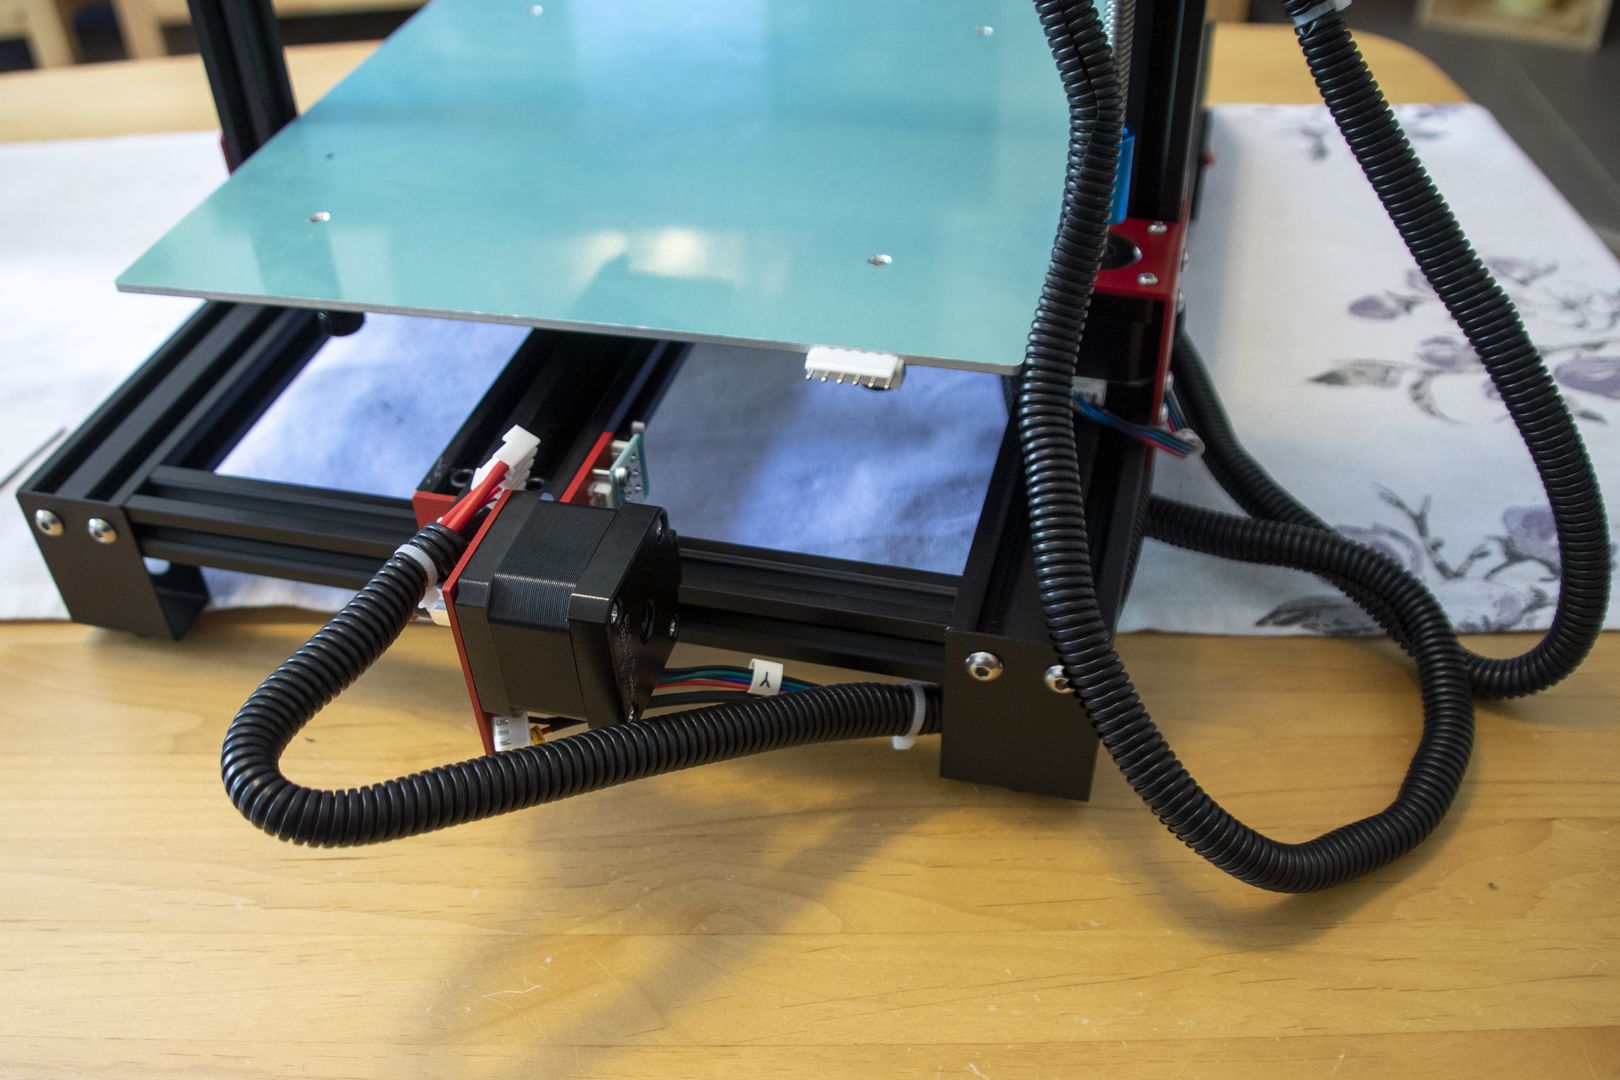
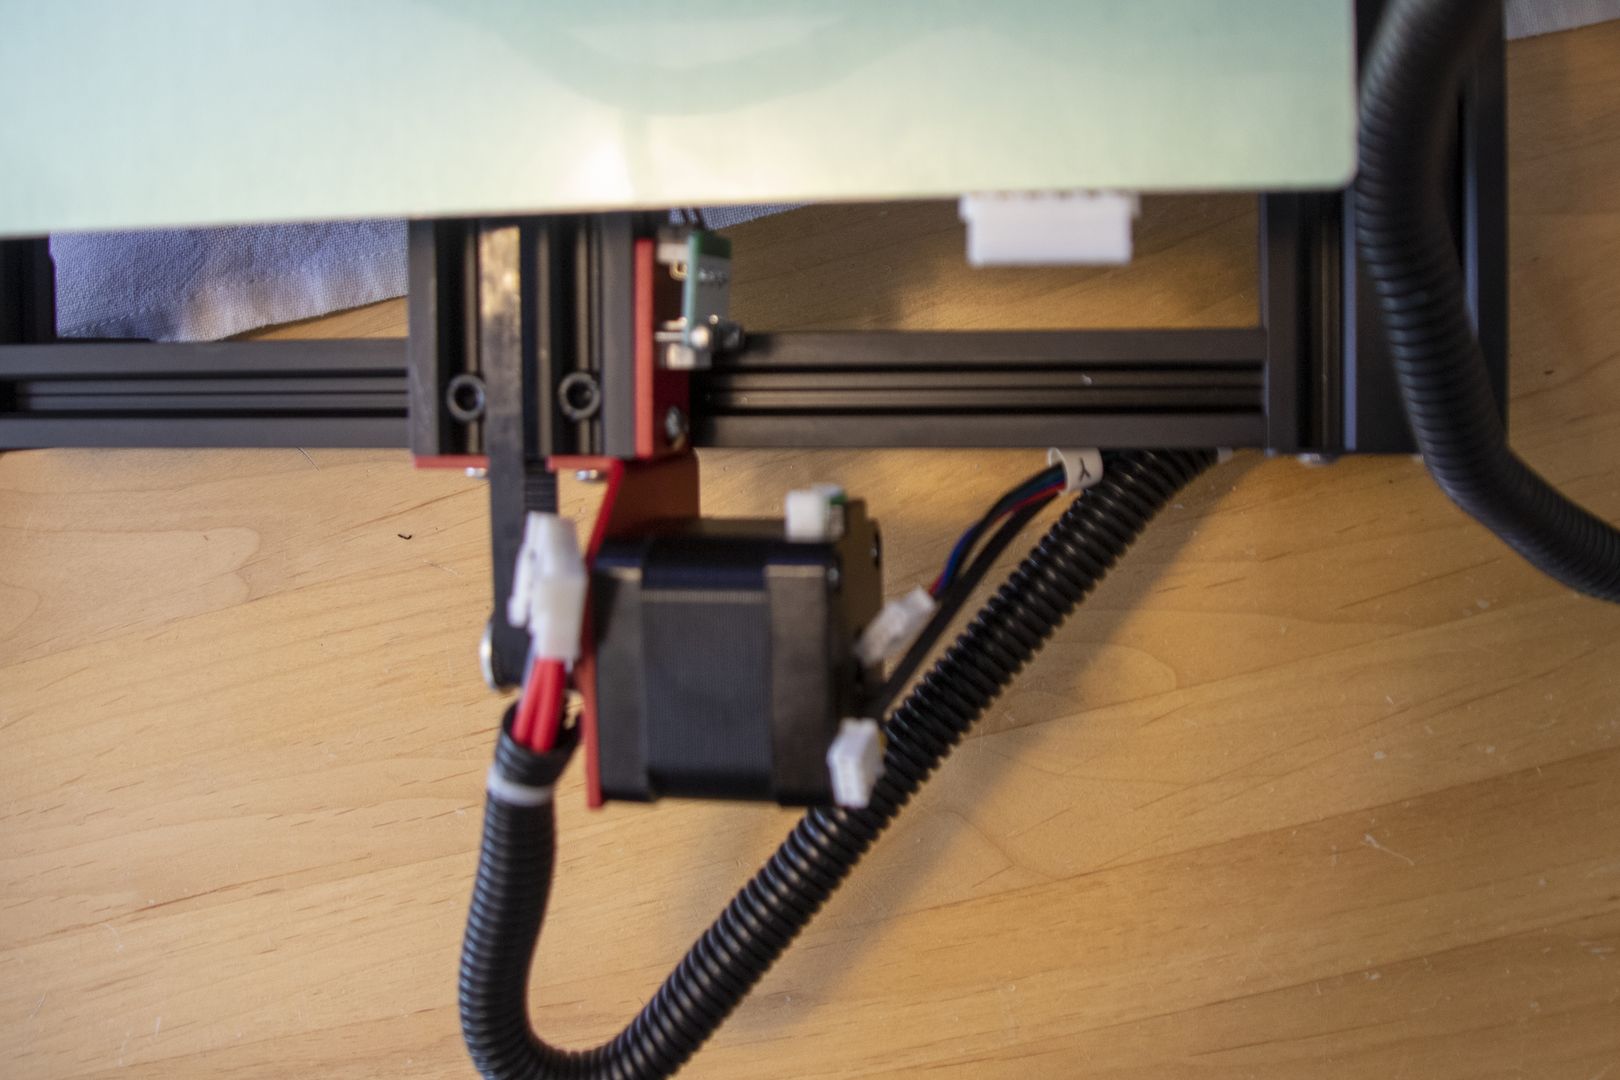
The Y-axis drive is now mounted at the rear. Of course you need two different types of screws and the matching hexagon socket wrenches.
The belt for the Y-axis is fixed under the printing bed with cable ties. But I had to loosen one side of it to connect the belt to the drive. When fixing it again one of the printed clamps broke.
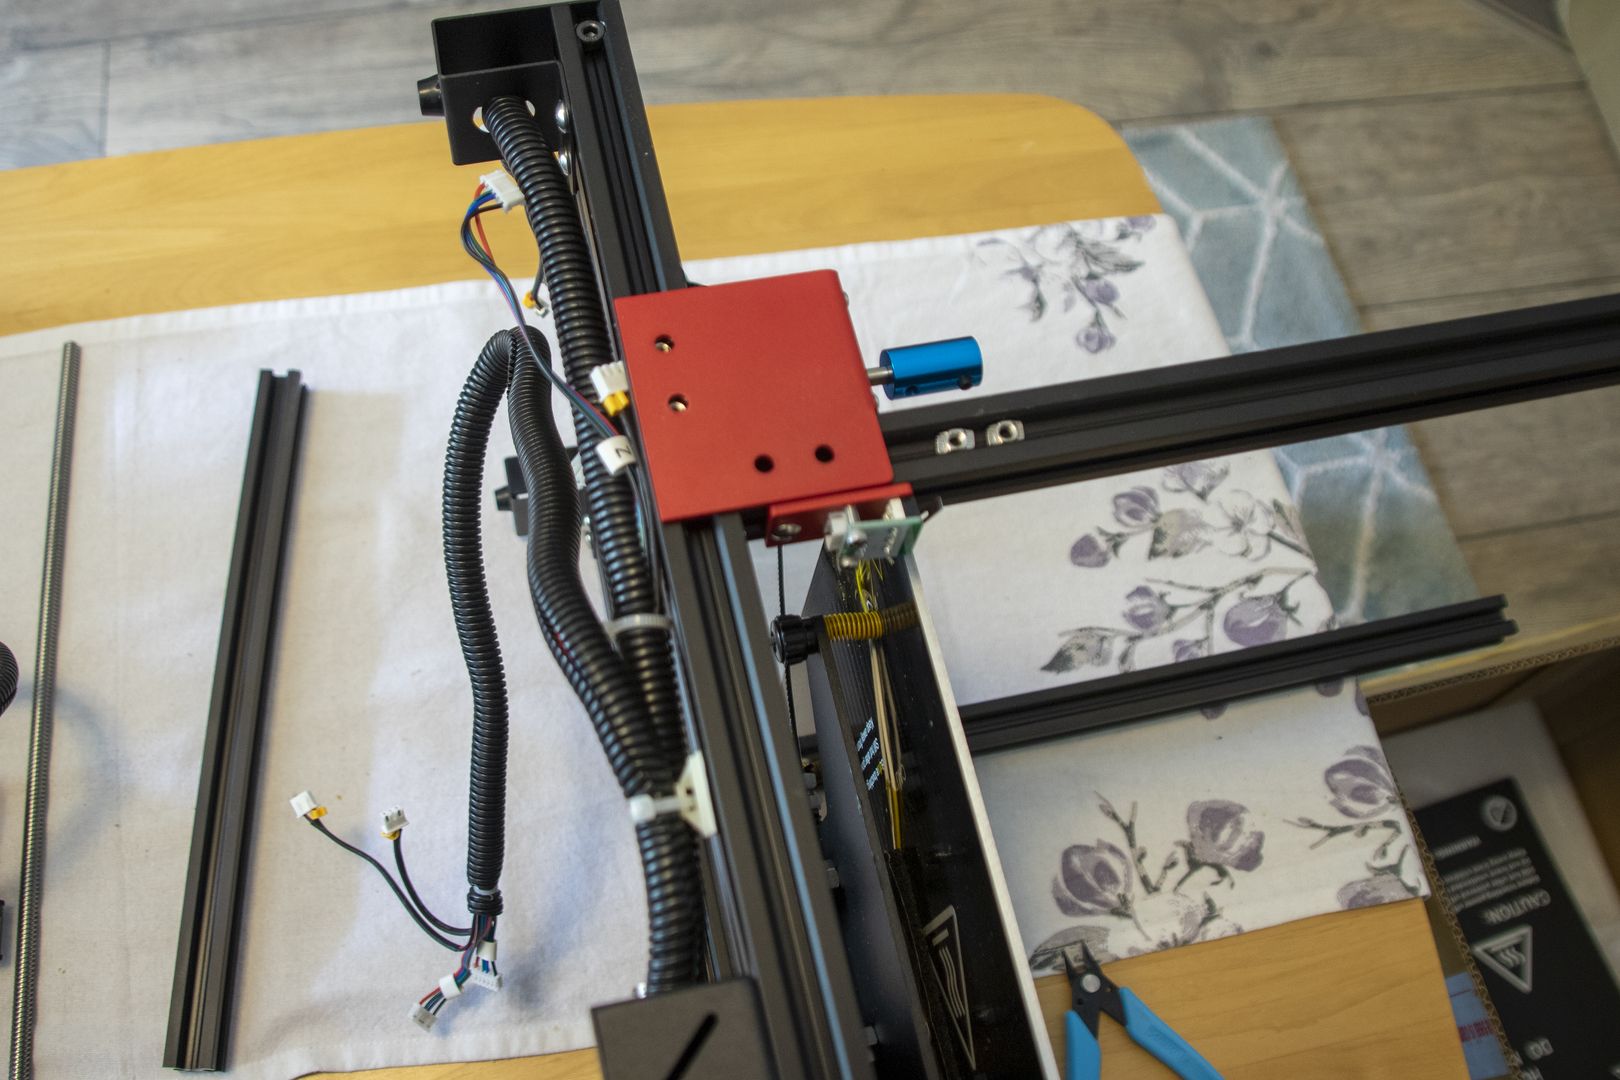
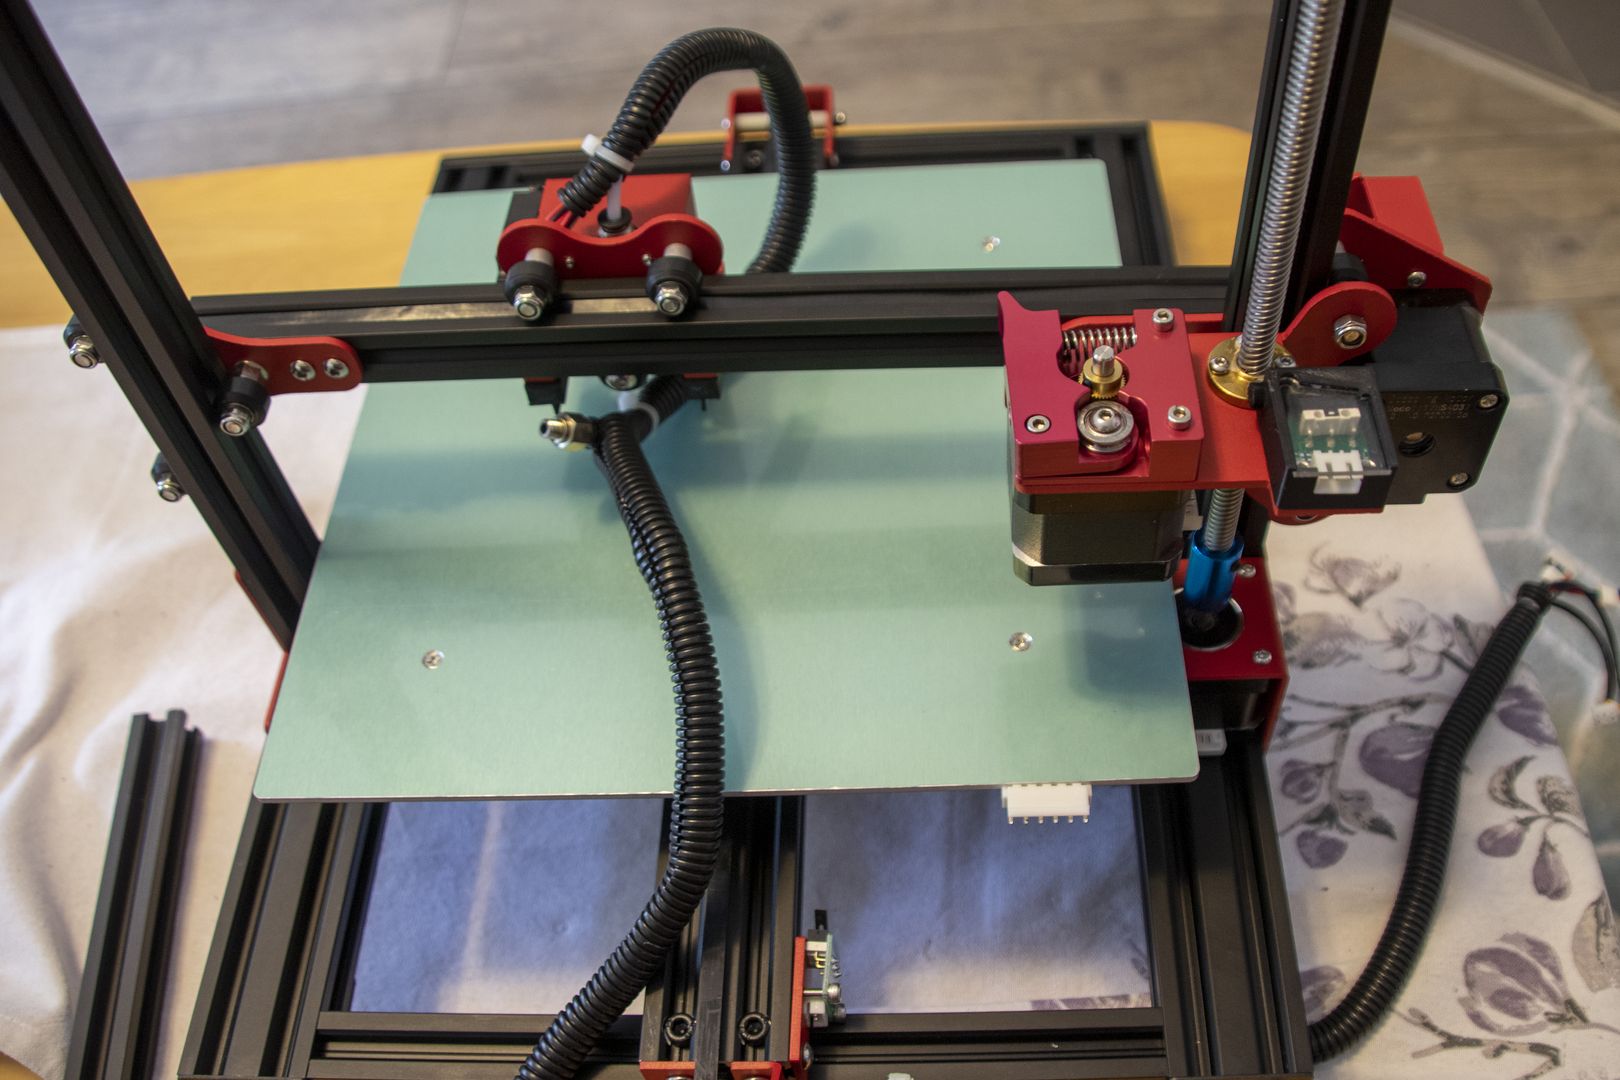
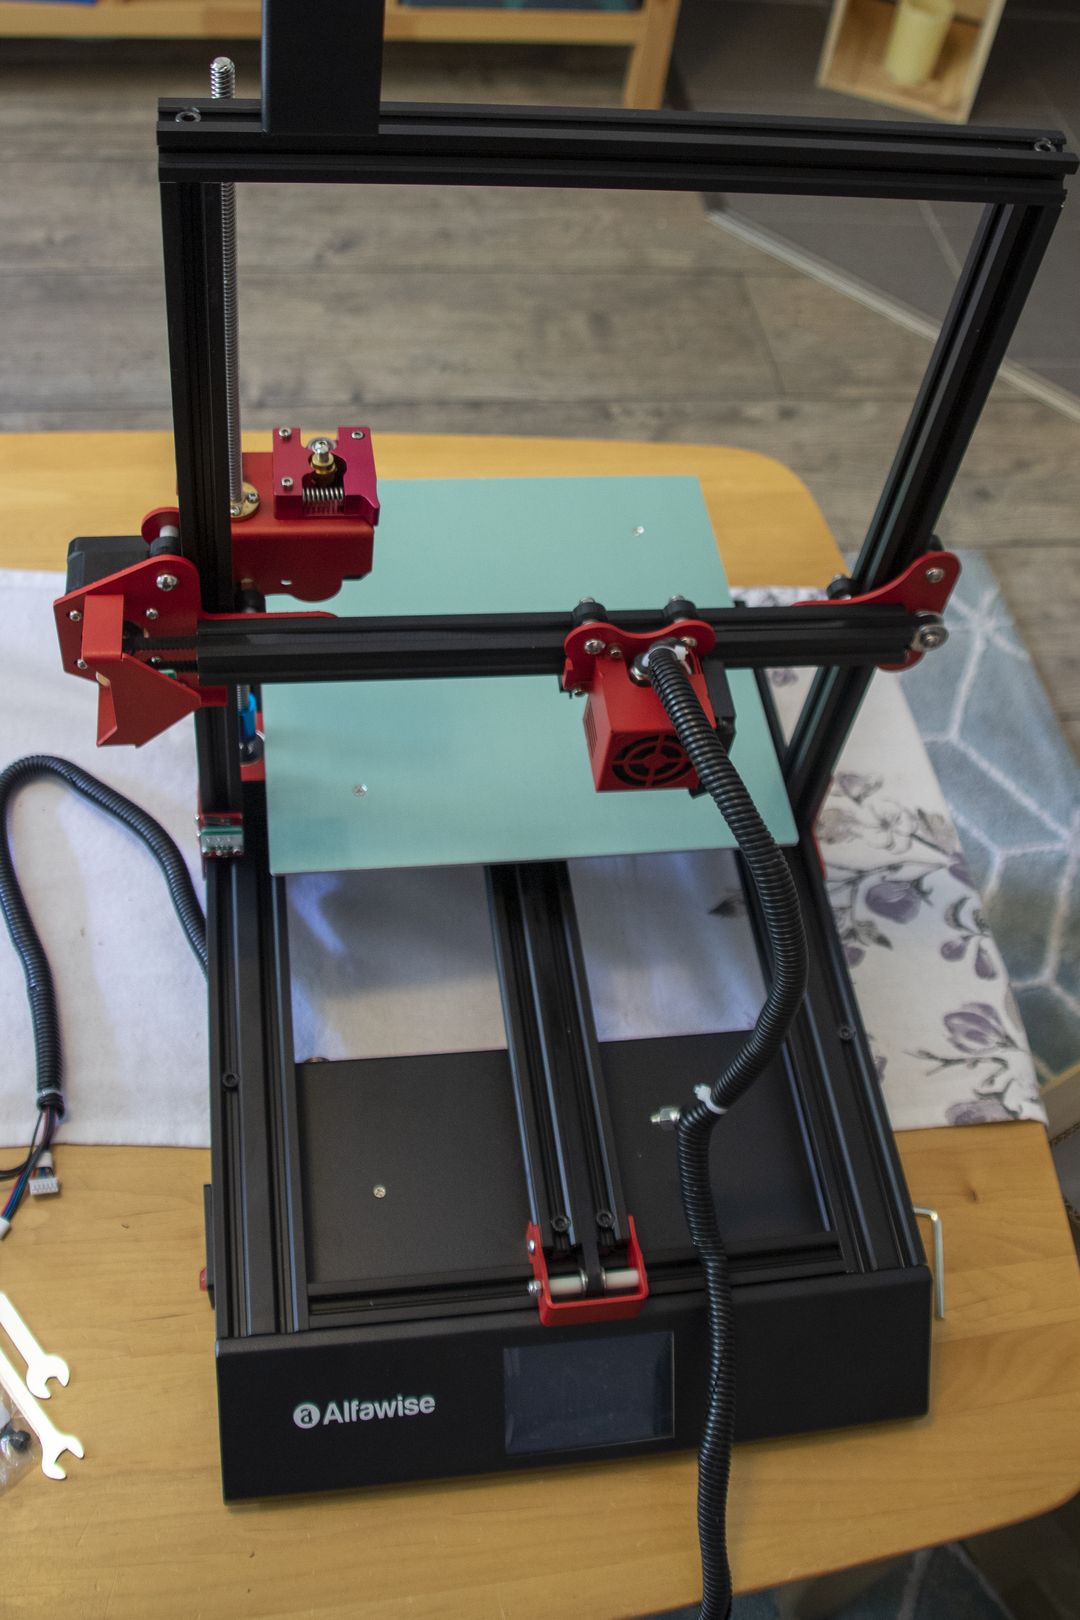
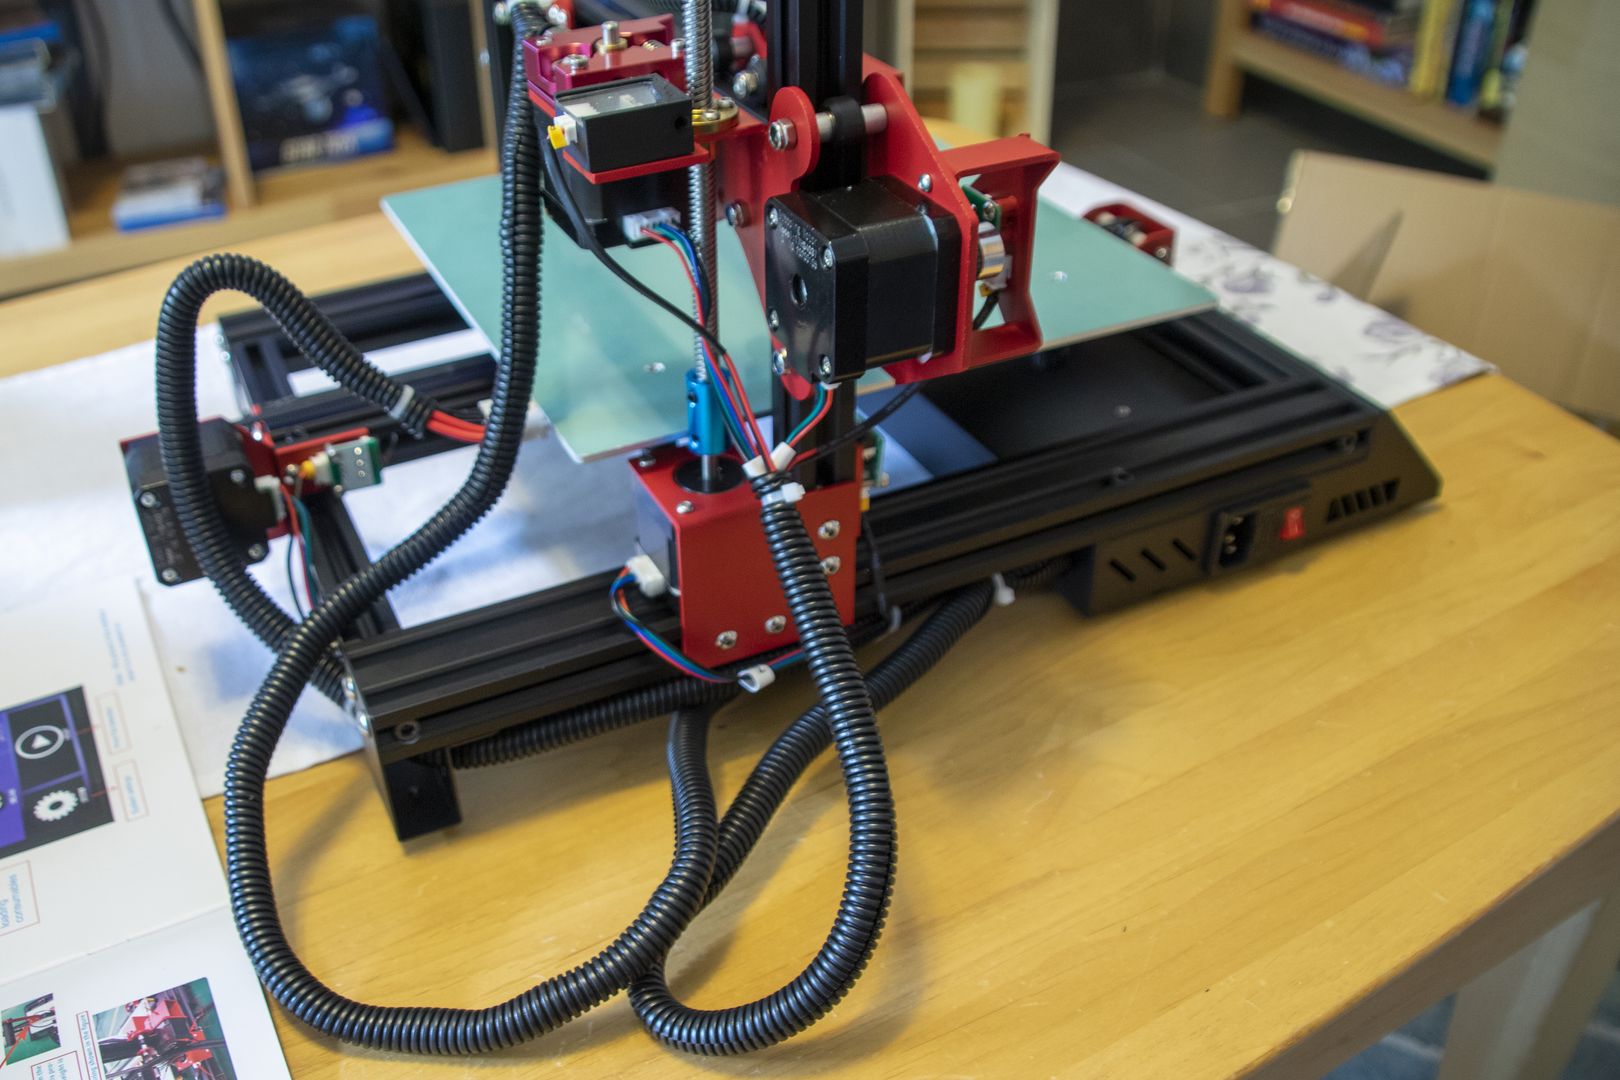
And this is what it looks like before the wiring.
The Wiring
All components are wired with plug-in connectors. Due to the different size, servo connection and limit switch connection cannot be confused. Due to the shape of the plug, reverse polarity is also basically impossible.
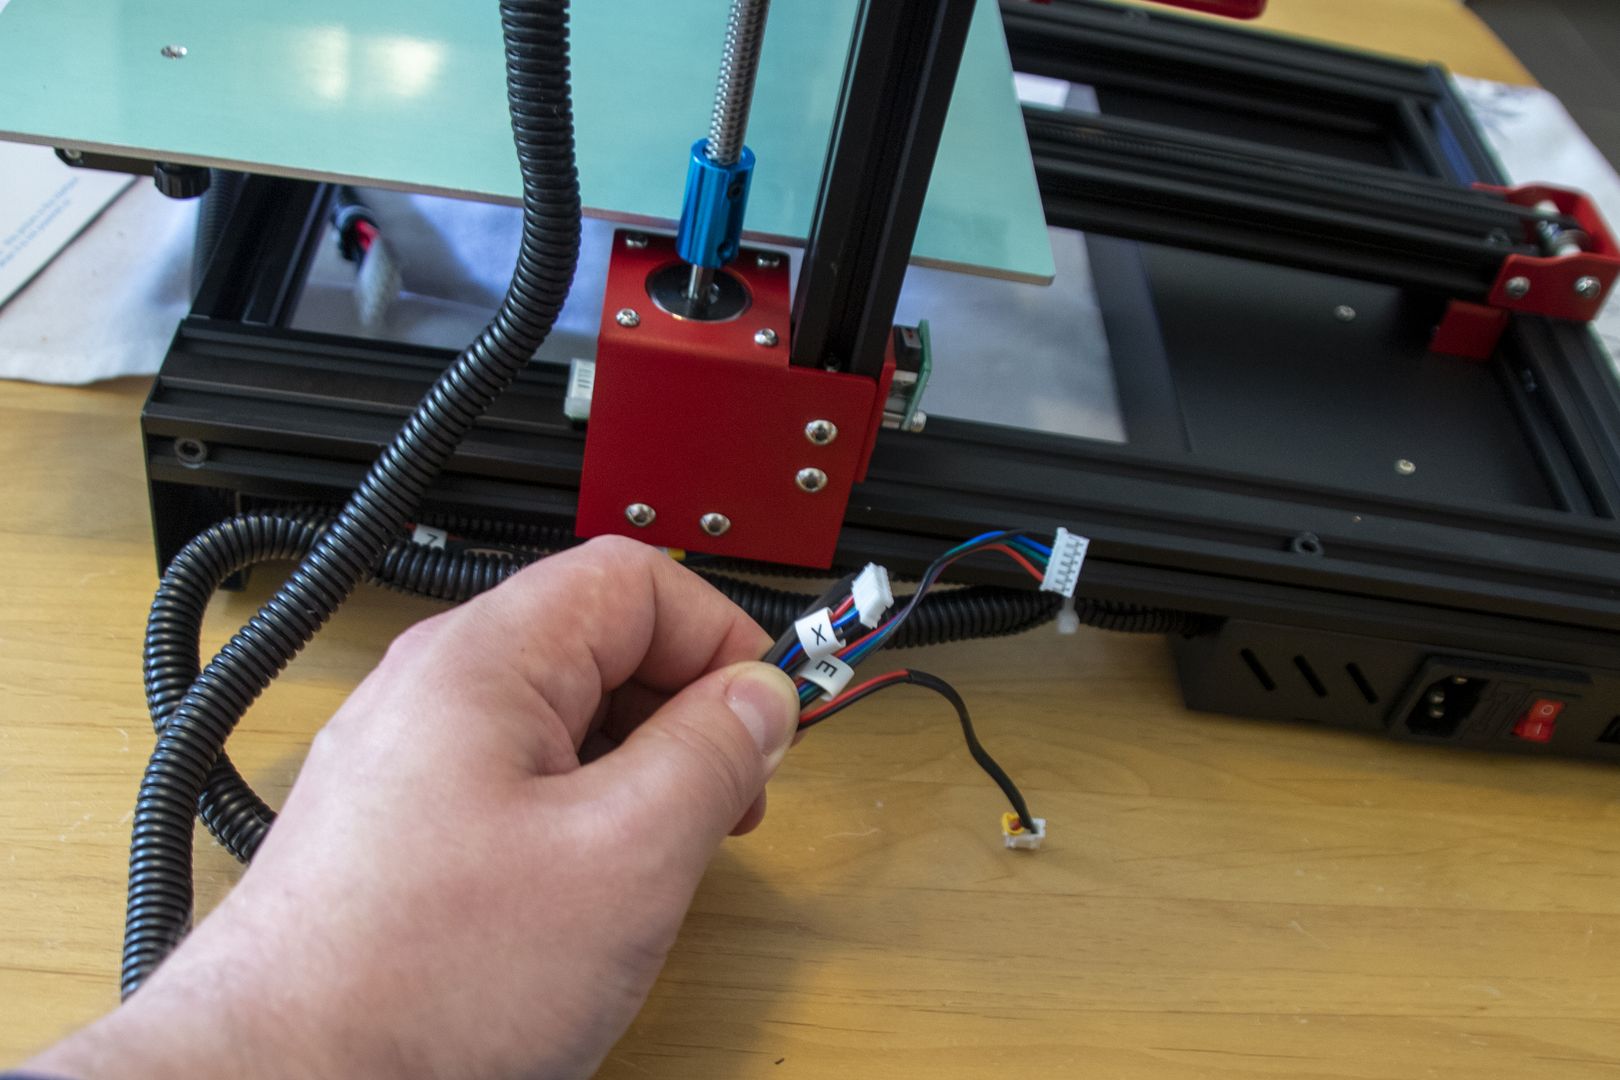
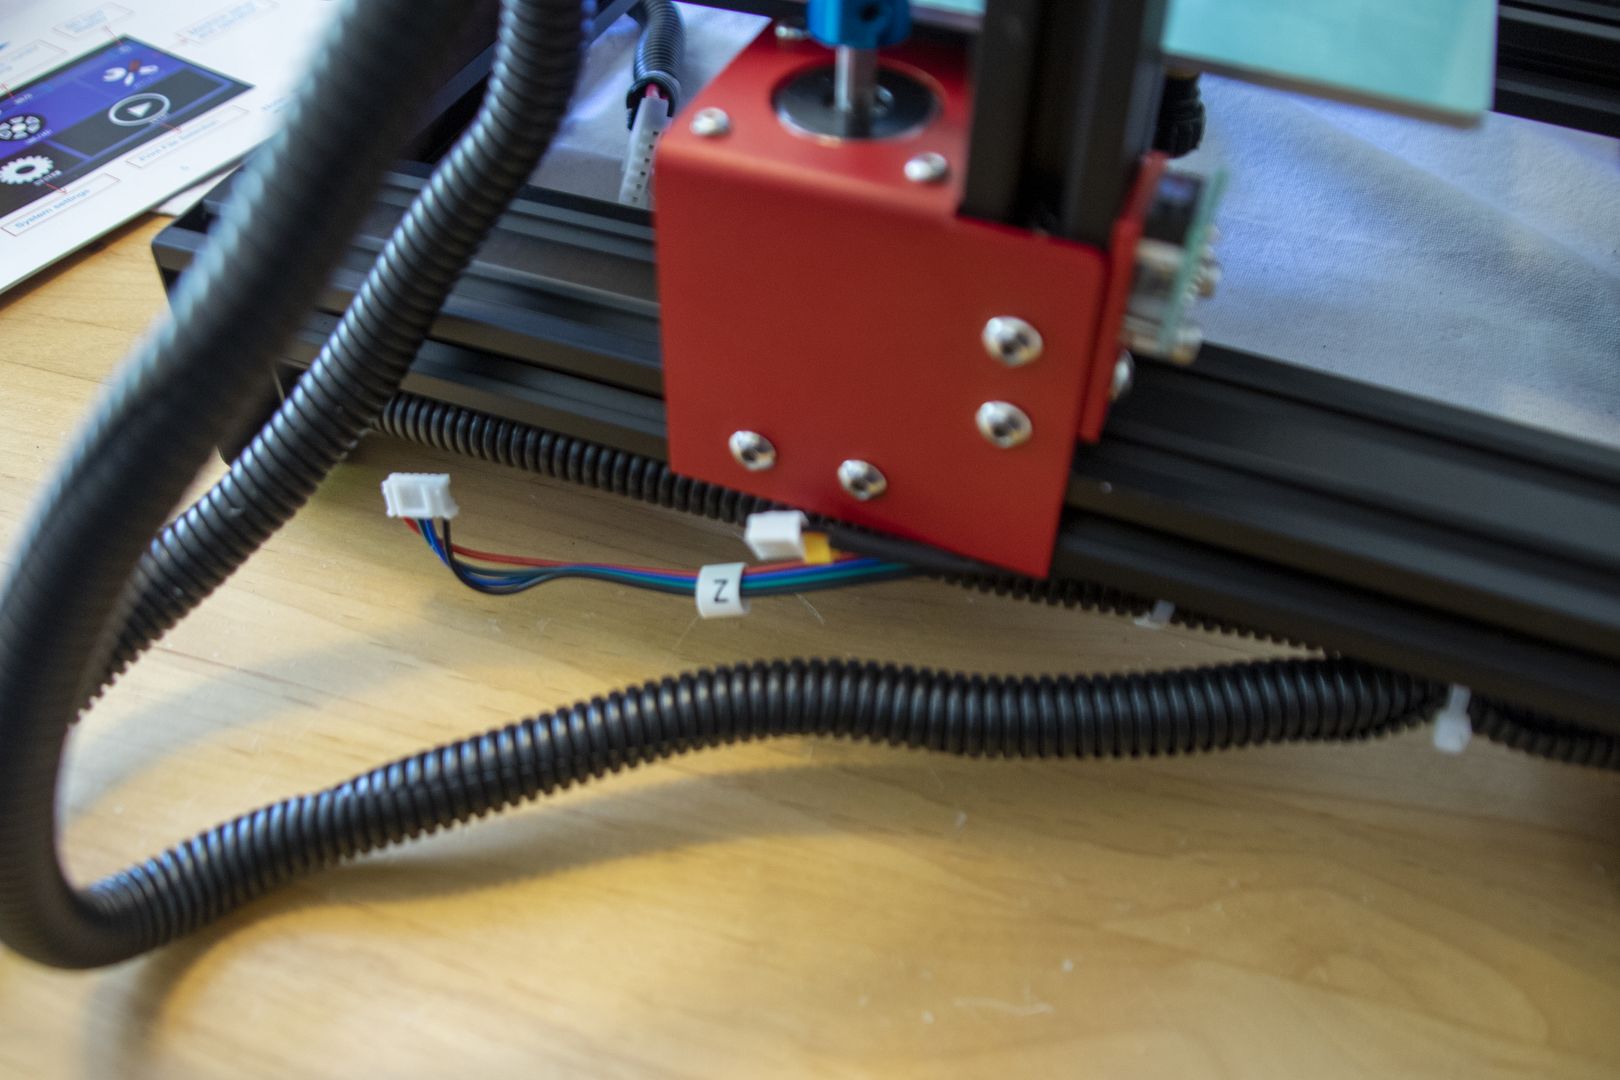
The individual cables are well labelled and combined in cable sleeves.
The connection for the hot end is secured by a screw connection.

The connection for the Y limit switch is the only one that requires some fiddling to connect.
This is how the assembly looks like with the wiring finished. The wires from the hotend are located very unfavorably and grind as you can see on the printing bed. Meanwhile I have fixed them with cable ties to the top.
Switching on for the first time
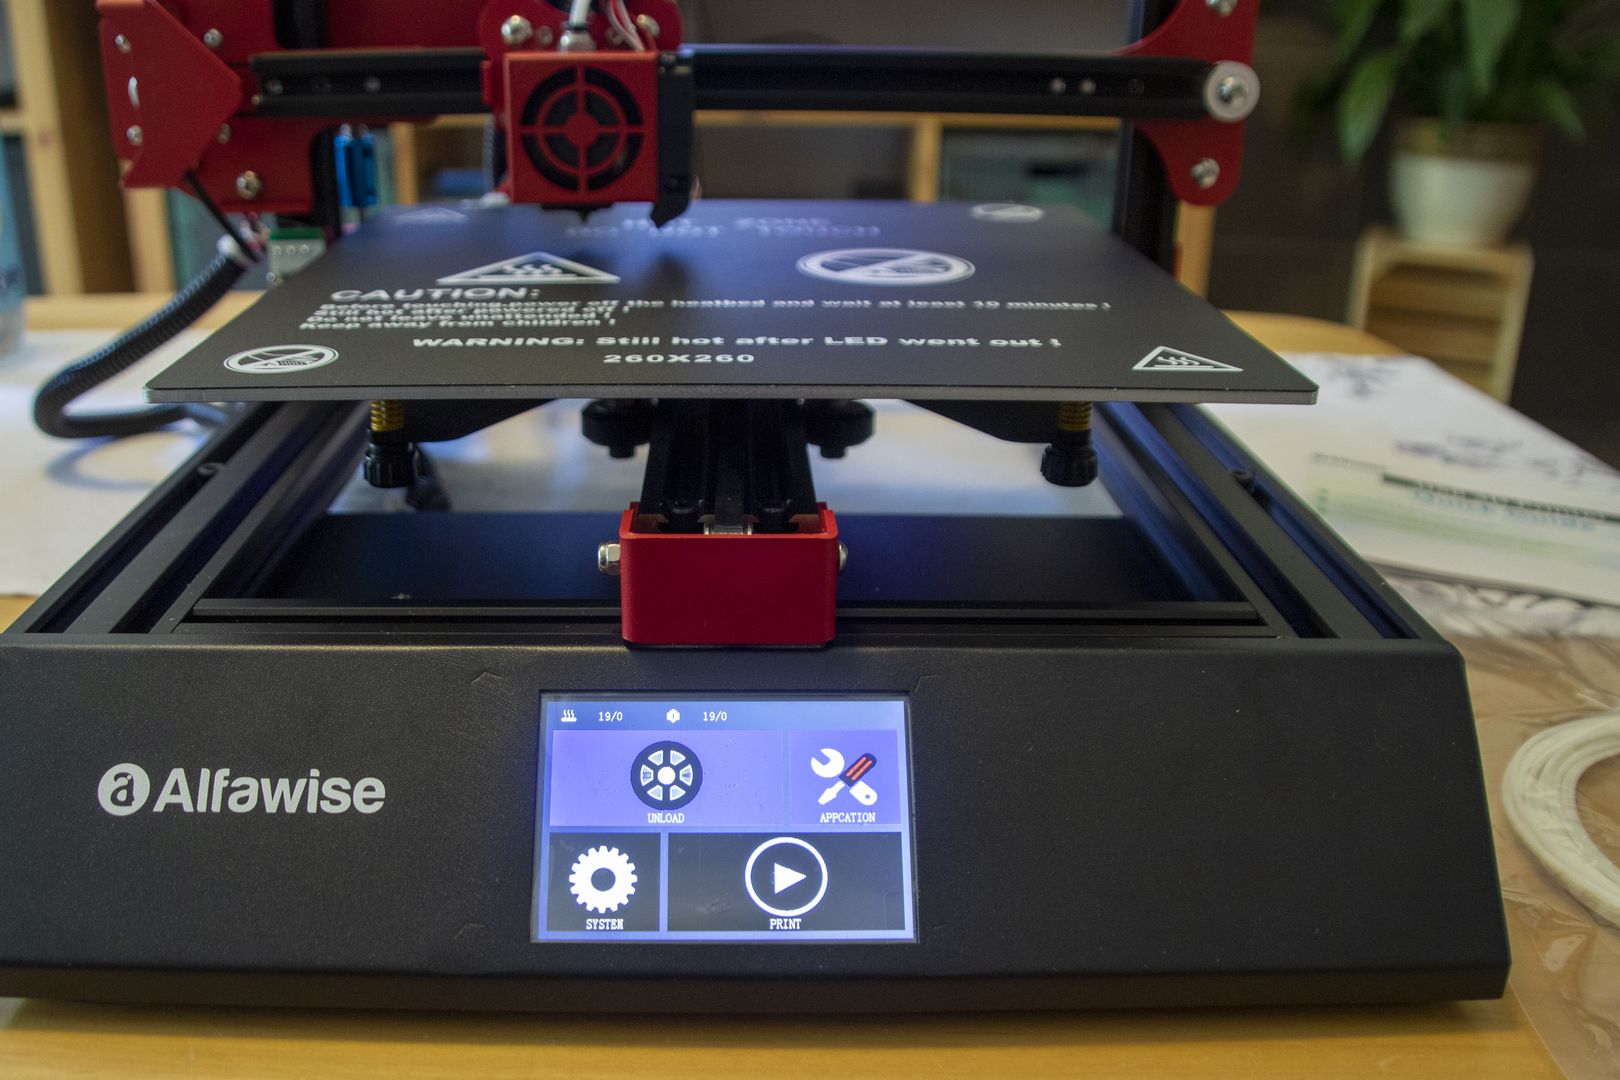
After everything was wired, I could switch on for the first time and since no MagicSmoke™ has escaped anywhere, I obviously put everything together correctly. Here you can already see the glued on printing bed.
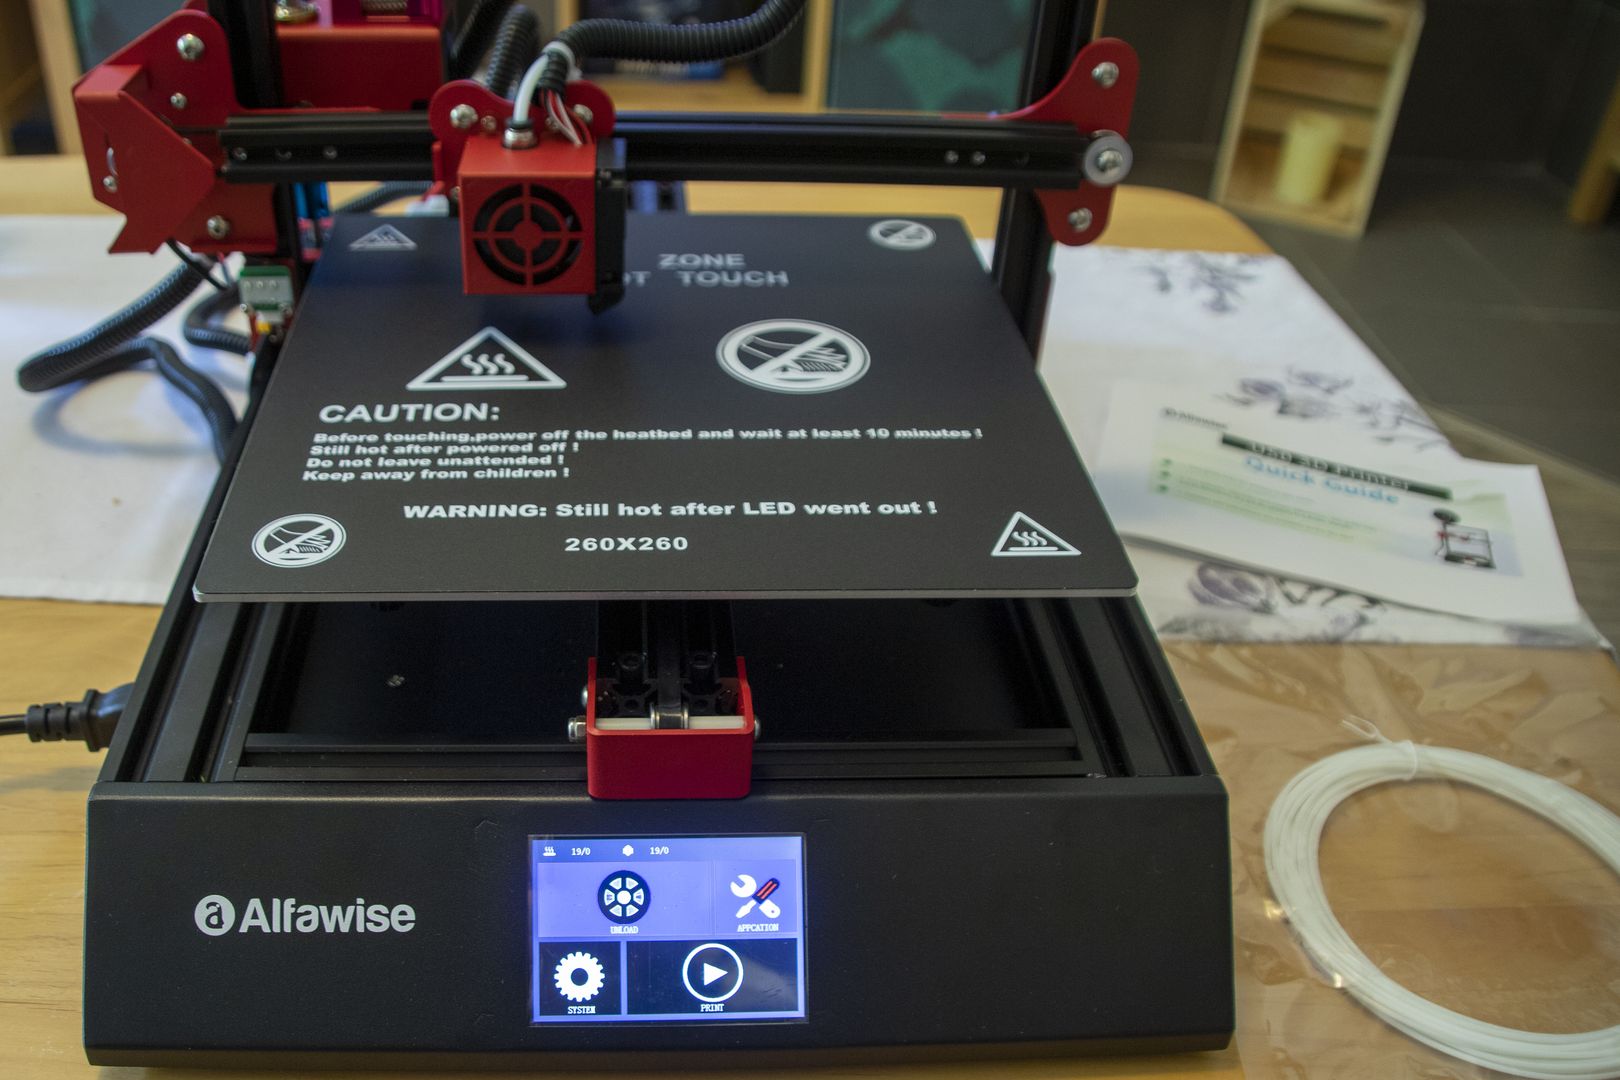
The menu offers functions for manual control of all axes, temperature preselection and direct printing from the SD card. The pre-installed firmware with version 195 had the problem that the speed of the axes could not be adjusted because the input field did not work. In a French 3D printing forum I found a firmware update to version 217, which fixes the problem. Unfortunately the rar archive could not be unpacked under Linux, but only under Windows.
The extruder can only be moved via the menu when the hot end is heated up. I have not tested whether this is also blocked with external control. Before the extruder drive, the filament is threaded through a chamber with a limit switch, which detects when the filament has run out. After the extruder drive, the filament runs through a tube to the hot end. Here I had to cut a cable tie, because otherwise the filament could not be threaded to the end.

When moving to the home position to adjust the printing bed, I noticed that the X limit switch is positioned too far outwards, so that the hotend is no longer above the printing bed. Unfortunately the limit switch can not be adjusted, so I glued a temporary spacer to the switch lug. In the meantime I have printed a suitable adapter for it. There will be a separate article on this later.
My first Impression
After I ordered the printer, I came across two blog posts at China-Gadets and Drucktipps3D that tore the U50 up quite a bit. Of course I don’t have that much experience with other printers but I’m quite satisfied with the construction and quality so far.
Gearbest advertises that you can assemble the printer in 20 minutes, I absolutely cannot confirm that. I took my time and took the photos in between, so it took me about two hours from opening the box to turning on the printer. As already written above, it is a little fiddly in some places, but in general, the printer can be easily assembled.
I started the first print from my Linux laptop directly from Cura. I am using the latest version of Cura, took the default setting of the Alfawise U20 and only adjusted the size of the printing bed.
Meanwhile I have connected the printer to a Raspberry Pi with Octoprint and print from there. I haven’t made any big prints of several hours and I’m still at the provided filament sample, but so far I haven’t regretted the purchase.